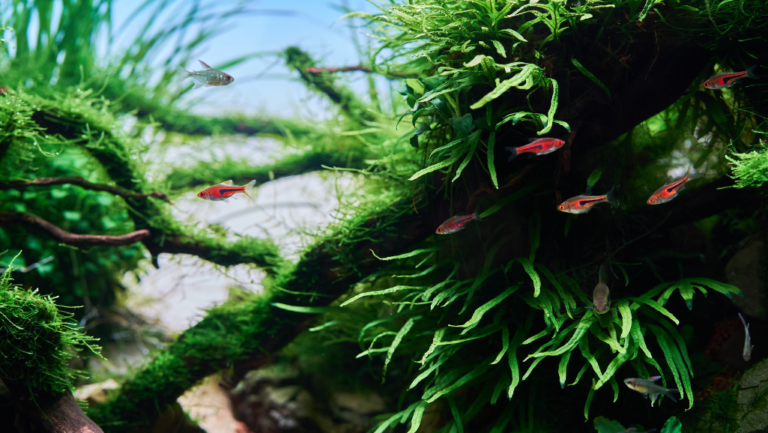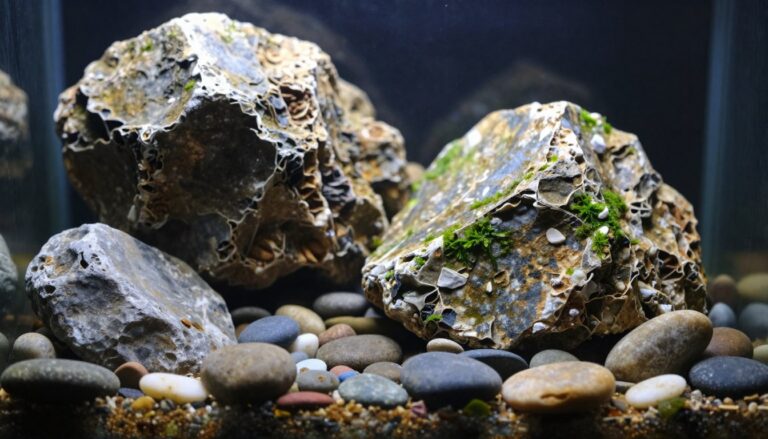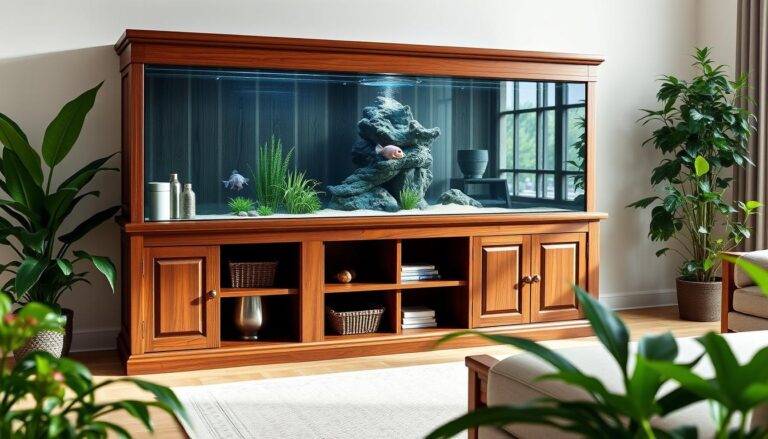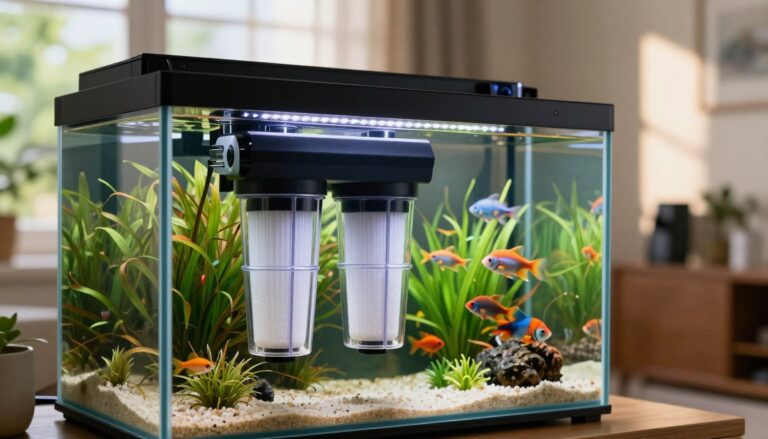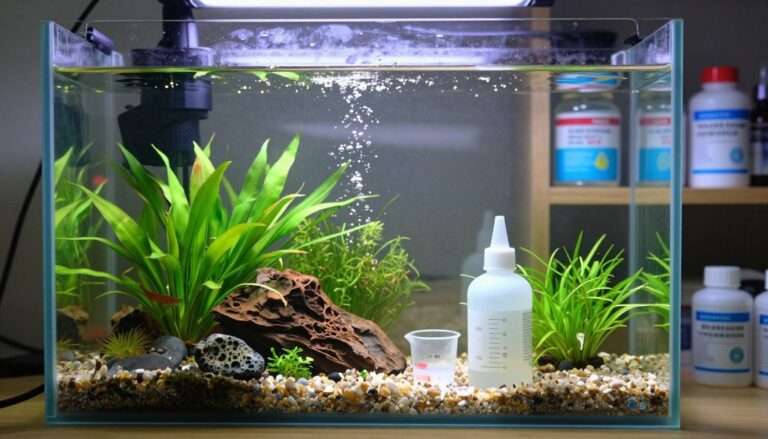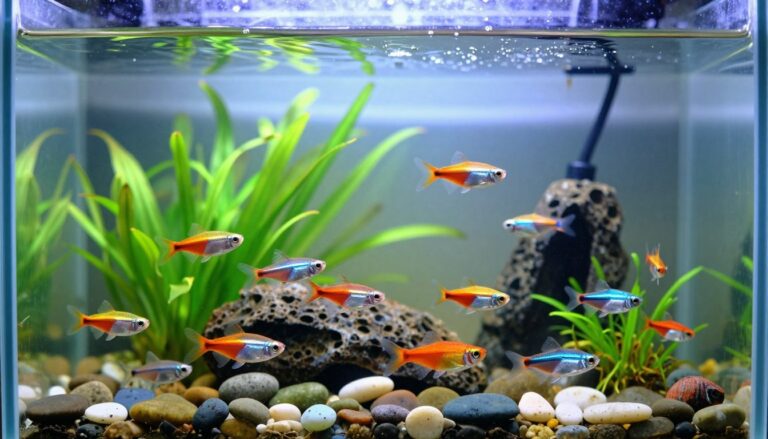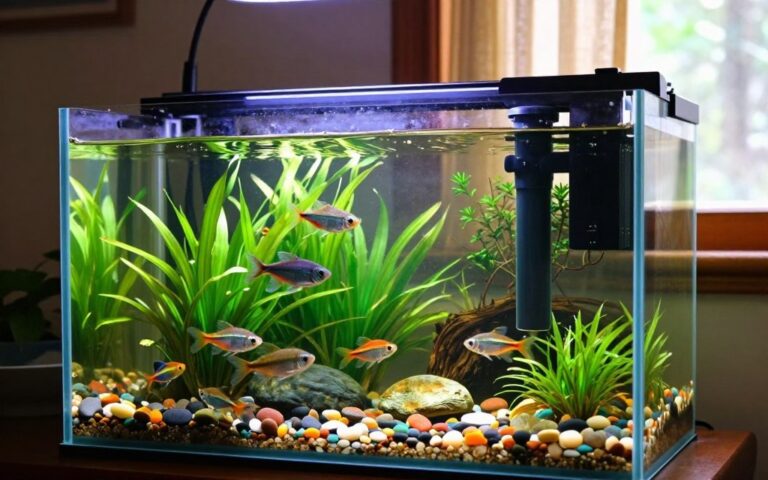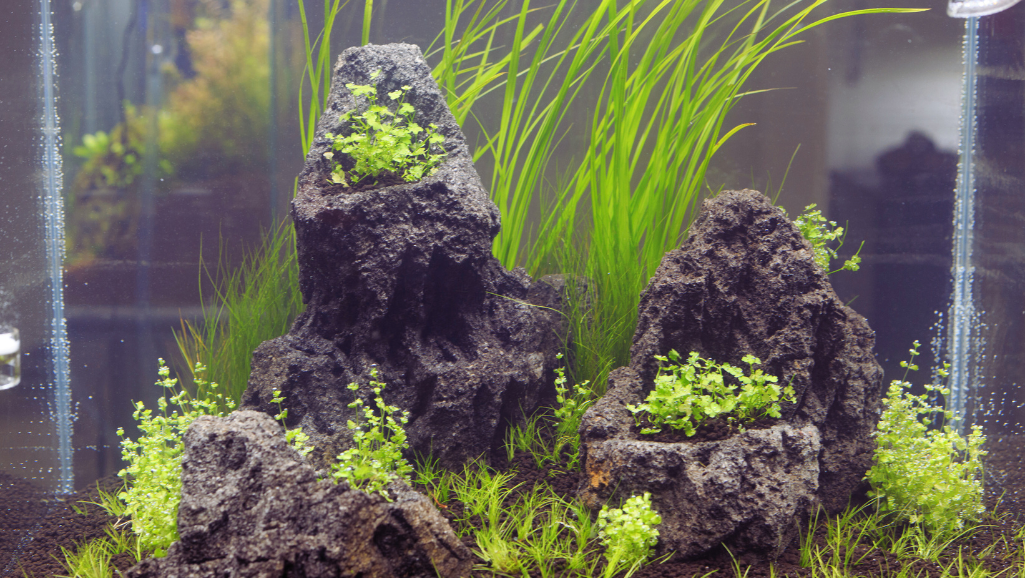
Transform your tank into living art with a simple, smart approach that brings movement, color, and balance to any room. Using ready-grown green life—potted aquarium plants—delivers immediate impact while keeping your scape flexible for future edits and easy maintenance.
Many hobbyists buy specimens grown emersed and sold in small pots with rock wool. These hardy aquatic plants (think Cryptocoryne and Anubias) often adapt within days to a few weeks as emersed foliage melts and new submerged leaves form, making them excellent choices for low-tech planted tank setups.
Use removable pots to manage large species without tearing apart the substrate. Sand and substrate choices shape both the aesthetic and the work involved; when you combine sand and aqua soil, contain nutrient beds or use pots to prevent messy mixing and nutrient hotspots that look unnatural.
Plan placement and gather tools before you start to protect delicate roots and simplify upkeep. Choosing the right pots and a clear way to lift or move large pieces gives you control and confidence as your living gallery matures. Start here: pick one or two potted plants to test placement and observe adaptation over two to four weeks.
Key Takeaways
- Starting with potted options gives instant visual impact and layout flexibility.
- Removable pots let you move big species without uprooting neighbors or disturbing the planted tank.
- Sand and substrate decisions affect both style and plant health—contain soil where roots need nutrients.
- Emersed-grown specimens often adapt well to submerged life; expect some melt followed by steady new growth.
- Good planning reduces maintenance and protects root systems during planting and future moves.
Why Choose Potted Aquarium Plants for Your Tank Right Now
Ready-made pots deliver instant fullness and long-term control, letting you test layouts without a full rescape and keeping routine care from becoming disruptive.
Hidden lift-out containers are a practical solution for large species — lift a pot to prune or repot at the sink, then drop it back into the same spot with minimal mess. Many hobbyists prefer sand for open beaches, but if you plan mixed substrates, use contained beds or pots so sand and aqua soil don’t migrate during maintenance.
Instant impact and cleaner upkeep
- Create visual volume quickly by placing pre-grown potted plants, then refine the scape over time without uprooting neighbors.
- Lift a pot to prune or thin growth outside the tank and avoid clouding and substrate churn that can stress fish and plants.
- Move or trade specimens between tanks as designs change — potted specimens allow easy, low-risk transfers.
- Design sand paths and anchor heavy root feeders in nutrient-rich containers to balance looks and nutrition while protecting open areas.
- Match pot size to root volume: small pots for foreground clumps and larger liners for heavy root spreaders so plants can establish while remaining controllable in any tank size.
Bottom line: removable pots cut disturbance and often reduce algae flare-ups caused by major substrate churn, while providing a flexible, low-effort way to trial new species as your hardscape matures — mark potential pot locations on a sketch of your tank and start with one or two potted plants to test placement and space.
Understanding Potted, Bunched, and Tissue Culture Plants
(short overview: differences between potted, bunched stem, and tissue-culture formats and how each affects planting time and risk)
How greenery is packaged affects setup time, risk, and visual impact. Some formats deliver immediate rooted stability, others give fast massing, and tissue culture offers a sterile clean start—pick based on your timeline, budget, and livestock.
Potted: net containers, rock wool, and rooted stability
Plastic net pots hold rock wool tightly around roots, which preserves moisture and protects delicate root systems during transport. For best results with rhizome or root-feeding species (Anubias, Cryptocoryne, Amazon sword), loosen the root ball, peel back excess rock wool, and preserve fine roots so the plant anchors quickly once submerged.
Bunched stem options for quick coverage
Bunched stem plants arrive tied or weighted for fast planting and background height. Typical stem species (Rotala, Hygrophila, Ludwigia) give immediate vertical structure; trim and replant the tips to thicken stands and shape backgrounds. Modern plant weights often use magnesium-zinc alloy—check supplier notes for composition and local guidance on safety for sensitive shrimp or very soft-water systems.
Tissue culture in sealed cups: sterile, dense, and pest-free
Tissue culture arrives in sealed cups of nutrient gel and is essentially pest-free. These cups contain many small plantlets ideal for carpeting (Monte Carlo, dwarf hairgrass) or when you need a clean slate for shrimp or high-tech tanks. Rinse off the gel, separate portions into small groups, and plant evenly to avoid shading—many hobbyists also spot-dip tissue-culture portions in clean water before planting for extra caution.
“Sterile starts reduce the chance of hitchhikers and let you plant densely for fast visual impact.”
- Match format to your timeline: pots for instant anchors, bunches for quick height, cups for sterile carpets.
- Remove excess rock wool gently while protecting fine roots—don’t strip the entire root ball unless necessary.
- Rinse tissue culture gel and tease apart portions into small plantable groups before inserting into substrate.
Pros and Cons: Potted vs Tissue Culture vs Bunched
Choosing the right format for your greenery affects how quickly a scape fills in, how much hands-on care it will need, and the short-term risks during adaptation.
Strength and height benefits for low-tech setups
Potted and bunched options deliver immediate height and sturdy stems that usually perform well in low-tech tanks without CO2. Examples: Amazon sword and Cryptocoryne in pots for durable midground mass; hardy stem plants (Rotala, Ludwigia) bunched for fast background coverage.
These types adapt by dropping emersed leaves and producing submerged foliage—expect some melt followed by steady new growth as plants stabilize.
Sterility, portions, and storage for tissue culture cups
In vitro / tissue culture cups arrive sterile and mostly free of pests and algae, with many small portions ideal for carpeting. Store cups in a cool, bright spot and plant while fresh to reduce melt risk; long storage can lower vigor.
Transition, melt, and timelines to expect
“Expect some melt as emersed leaves transition; steady new leaves show successful adaptation.”
- Choose robust stem plants when you want quick height and reach to available light.
- Opt for tissue culture cups for a clean, uniform carpet with minimal hitchhikers.
- Combine formats—anchors from pots, ground cover from cups—to balance speed, cleanliness, and visual stability.
Potted Aquarium Plants: Core Buying Criteria
Start by measuring your tank and assessing light so every selection fits the final scape and care plan. Note usable floor space, water depth, and fixture output (or PAR if you measure it) before you buy.
Tank size, light, and CO2 — matching choices to your setup
Measure light and space first. Small tanks with modest fixtures favour slow, low-demand plants like Anubias and Java fern, often bought in pots or attached to hardscape. Larger, high-light tanks with CO2 can support fast growers and carpet species (Monte Carlo, dwarf hairgrass) but typically benefit from sterile starts.
Robust potted and bunched options usually acclimate better in low-tech tanks and need less intervention than delicate starters. Tissue culture gives a cleaner slate when you want dense coverage quickly in a high-energy layout.
Growth habit and leaves — pick for foreground, midground, background
Match leaf texture and mature size to position: broad leaves (Amazon sword) create mass in the midground, fine leaves add detail at the margins, and crinkled or textured foliage adds contrast. Consider root spread so clumps don’t crowd hardscape as they thicken.
- Measure tank dimensions and light output to match a plant’s mature size and growth habit.
- Favor hardy, potted options for low-tech tanks—these stabilize quickly and need less trimming.
- Match fast growers to strong light and CO2 when you want predictable carpets or dense stem growth.
- Consider root spread and substrate needs—root feeders benefit from nutrient soil or root tabs; surface feeders do well in sand zones.
- Balance anchored pots with softer fillers so you can move focal pieces without remaking the layout.
“Read new submerged leaves as the best cue that a specimen is settling into its environment.”
Plan for growth rates: create a simple checklist before you shop—tank size, light level, intended position (foreground/midground/background), and whether you’ll use soil, sand, or pots as beds. Sample pairings: low-light small tank = Anubias/Java fern (potted); mid/high-light with CO2 = Monte Carlo/dwarf hairgrass (tissue culture); statement midground = Amazon sword (large pot; plan root space). Watch leaves and new shoots—they tell you if nutrient and lighting choices are right.
Substrate Choices: Sand, Aqua Soil, or Hybrid Approaches

The foundation you choose—soft sand, rich aqua soil, or a hybrid of both—largely determines how the tank looks, how plants root, and how much maintenance you’ll do. Pick substrates to match the plants you want and the level of upkeep you’re willing to commit to.
Sand creates bright open areas and clean beaches that make a scape feel larger; it’s ideal for minimalist layouts and foregrounds where fine texture matters. Sand is inert and visually simple but supplies little in the way of nutrients, so surface or hardy plants generally need root tabs or planted pots.
Sand aesthetics and open areas vs aqua soil nutrient density
Aqua soil supplies steady, slow-release nutrients that benefit root-feeding, heavy growers and carpeting species. Use nutrient-rich soil where demanding plants (like large root feeders or dense carpets) will be planted. A common approach is sand for beaches and aqua soil for planted beds to get both contrast and fertility.
Keeping sand and aqua soil separate: practical challenges
Mixed substrates look great but tend to blend over time from maintenance and flow. Expect some migration; use physical containment—rocks, buried edging, or pots/liners—to keep beds defined and avoid muddy mixes that cloud the tank.
- Choose sand for clear paths and visual negative space; add root tabs for plants that need nutrients.
- Use aqua soil where roots need sustained fertility—ideal for carpets and heavy feeders.
- Contain soil beds with edging, low rock walls, or potted modules to avoid an unwanted mix with sand.
- Plan flow and cleaning routes so sand isn’t scoured and aqua soil isn’t pulled into open areas during maintenance.
“Hybrid layouts give both style and substance, but accept that long-term upkeep requires thoughtful barriers and a steady maintenance plan.”
Quick example: to build a sand beach beside a soil bed, sink a row of flat stones or a thin buried mesh edge at the join, place soil behind the barrier, and keep the sand shallow and stable in front—inspect monthly and re-edge if soil creep appears.
Potting Media, Rock Wool, and Root Care
Rock wool is a spongy, inert support used in net pots to retain moisture and add ballast so specimens travel and display without damage.
Prep protocol (gentle, 4 steps):
- Keep the root zone wet—work over a shallow tray and handle plants with moist hands.
- Lift the plant from its net pot and peel back outer layers of rock wool with fingers; stop if roots pull.
- Use fine tweezers to tease away stubborn fibers and trim any clearly mushy or blackened root sections.
- Rinse roots briefly under temperate water to remove loose bits, then keep portions damp until planting.
Tiny remnants of rock wool usually won’t cause immediate harm, but large clumps or heavy packing media should be removed to avoid cloudiness and extra filter load. For very delicate root systems, leave a thin layer in place to protect fine hairs and encourage gradual establishment.
- Understand rock wool’s role: moisture retention and ballast for retail display—remove excess but protect fine roots.
- Trim long roots selectively to promote branching and faster anchoring after planting.
- Match potting mix to the species—coarser mixes (coarse sand, clay granules) suit thick roots; finer mixes feed delicate root systems.
- Keep a small toolkit—fine tweezers, curved scissors, and a shallow tray—to manage fibers and waste cleanly.
- Do a quick dip inspection for pests (or rinse tissue-culture gel away) before planting to protect water quality and promote healthy growth.
“Trim mushy sections back to healthy tissue and bundle roots lightly for easier placement.”
Quick tip: if you’re unsure how much rock wool to remove, gently peel a little and watch root firmness—healthy white/tan roots tolerate teasing; black, soft roots need trimming before planting.
How to Prep and Plant Your Potted Plants
A calm, methodical setup prevents floaters and gives roots the best chance to establish. Work over a shallow tray, keep portions wet, and remove each specimen from its plastic mesh gently. Peel back rock wool a little at a time and tease roots free with fingers before using tools so delicate root hairs stay intact.
Rinsing, tweezers use, and planting depth for stable roots
Rinse prepared portions thoroughly under temperate water and keep roots moist until planting to avoid shock. Use planting pinsettes to grip the lower root zone, insert the roots halfway into the substrate, angle the tips down slightly, release, and withdraw the tool so the crown remains seated. Seat crowns just under the surface in soil (about 0.5–1 cm deeper than crown level) to resist buoyancy; in sand, plant slightly shallower but add weights if needed until roots take hold.
Planting in soil vs sand: anchoring methods and spacing
In nutrient soil, plant a touch deeper and press substrate around roots so they contact nutrient-rich particles. In sand, secure cuttings with small lava rock, gravel on top, or dedicated plant weights (few grams per plant depending on size) buried gently over the roots until anchoring occurs.
- Prep checklist: have pinsettes, curved scissors, plant weights or small lava rocks, a shallow tray, and a cup of clean water for rinsing.
- Space specimens to avoid mature leaves shading neighbors and to allow water flow around lower nodes—leave room for adult size.
- Stagger grouped plantings in a zig-zag to create natural rhythm and maximise substrate contact for multiple crowns.
- Contain mixed substrate zones with edging or small pots to stop soil from leaching into sand beds during maintenance.
Final steps: gently waft water above newly planted areas to settle grains around roots—take care not to blast crowns into exposure. After planting, perform a small partial water change (10–30%) to clear any haze and give the new additions a calm first night. If bunches float, press them down and add a temporary weight (lava rock or a plant weight) and check again in 24–48 hours; if they still won’t anchor, re-evaluate rock wool removal and trim any overly buoyant leaves.
For more visual guidance, consult this step-by-step planting guide—then mark pot locations on a sketch of your tank before you start so you can test placement and space effectively.
Smart Scaping: Using Pots, Cups, Lava Rock, and Mesh
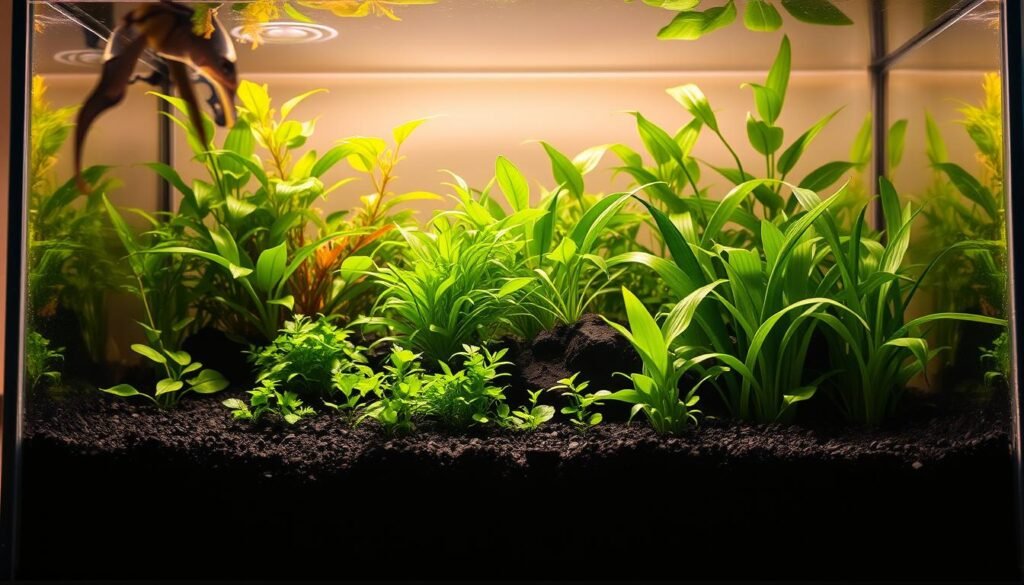
Layer modular green modules behind rocks to keep large-rooted specimens easy to lift and groom. Hiding pots and liners behind the hardscape preserves the visual flow while letting you perform sink-side maintenance on big crowns without upsetting the rest of the planted tank.
Hidden containers for large specimens
Conceal pots behind stones or inside decorative cavities so large Cryptocoryne, Amazon sword, or other heavy root feeders can be lifted cleanly for pruning. Use small nursery liners or invitro cups inside a decorative pot as a removable liner—this gives tidy, modular beds that are easy to swap or repot without tearing up surrounding substrate. When planning, leave a 1–2 cm access gap at the rim so you can hook and lift the liner later.
Tying moss to rock or mesh for easy trimming
Tie portions of moss to lava rock or a small stainless-steel mesh patch using aquarium-safe nylon thread (preferred over cotton for long-term durability). These little green pads sit on shelves or branch forks and can be removed for trimming and rinsing outside the tank.
- Hide pots behind stones or foliage so large-rooted specimens come out cleanly for pruning without disturbing neighbors.
- Use cups or liners inside decorative pots to create neat, movable modules that lift and return to the same spot.
- Tie moss with thin nylon thread to lava rock or stainless mesh so modules are portable and low-mess.
- Group modular units to protect sand paths and rotate them seasonally—this lets you evolve a layout without a full rescape.
“Modular scapes let you evolve a layout with minimal downtime and maximum visual punch.”
Materials and sizes suggestion: for mesh, use 304 or 316 stainless mesh cut to fit a 6–10 cm pot; use small lava rocks (pea or 3–6 mm) as temporary weights; choose pot liners sized to the pot interior so you can lift without snagging. Secure thread neatly so lines vanish as growth fills in, and build layered rocks and mesh to shape flow and reduce dead spots. This modular approach is a practical way to keep your potted plants accessible while keeping the tank looking intentional and planted.
Care and Maintenance: Growth, Trimming, and Water Changes
Expect an adjustment period as emersed foliage gives way to fresh submerged growth. Emersed-grown stock commonly shows some melt; steady new shoots and improved color are the best signs a specimen is recovering and adapting to submerged life.
Prune decaying leaves promptly to prevent organic buildup that fouls water and slows recovery. For stem plants, trim tops regularly and replant cuttings to thicken stands and preserve a clean visual line.
Manage runner plants by thinning or relocating daughter growth so mother crowns don’t become crowded. Periodic repositioning keeps flow and light balanced around each specimen and reduces hidden dead spots where debris and algae can accumulate.
Suggested maintenance calendar
- Weekly: quick visual check, remove obvious dead leaves, trim fast-growing stem plants (every 1–3 weeks depending on vigor).
- Every 1–2 weeks: partial water change (10–30%) to export organics and stabilize chemistry in most planted tanks with potted plants.
- Monthly: inspect roots and pots, tidy any substrate creep in hybrid beds, and rotate or lift modular pots for sink-side grooming if needed.
Algae prevention and flow tuning
Watch for early algae signs—thin film on leaves, hair strands starting at edges, or slow color loss—and act quickly: reduce photoperiod by 15–30 minutes, check dosing routines, and improve circulation around pots so nutrients reach leaves and debris doesn’t settle.
- Tweak flow so water moves around bases of pots and over lower nodes to dislodge detritus.
- Keep tools clean and make precise cuts to reduce infection risk; sanitize scissors between heavy trims.
- Balance fertilization—dose macro and micro nutrients to support plant growth while avoiding large excesses that favor algae.
“Use how new tips perk and color deepens as feedback — small, regular adjustments keep the scape healthy.”
Tip: when trimming stems, snip above a healthy node and replant the tip to thicken growth; when dealing with runner carpets, remove every few runners to direct energy back into the mother clump and preserve shape. These small routines keep plants vigorous, fish safe, and maintenance predictable.
Common Mistakes to Avoid with Potted Plants
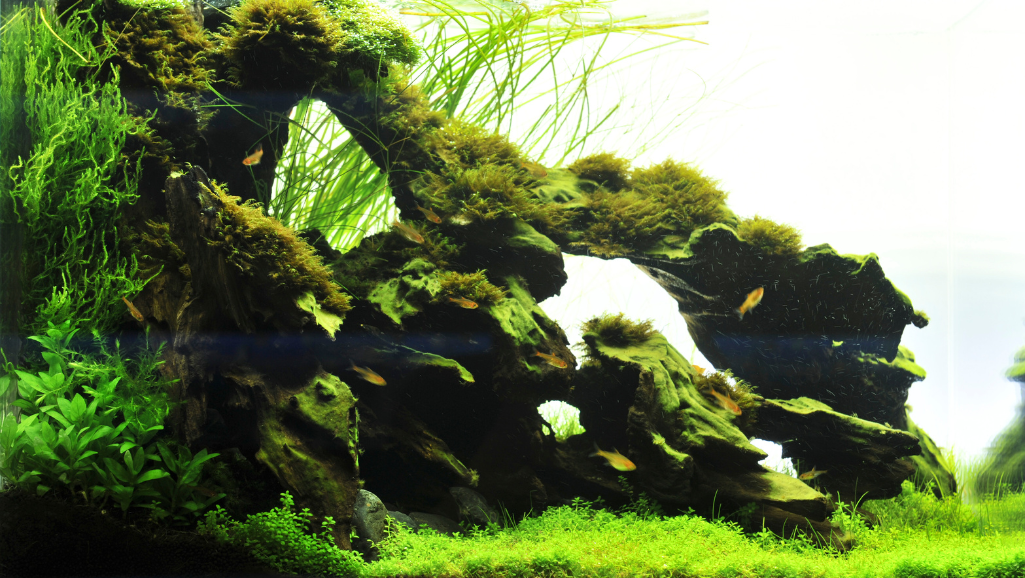
A few common setup mistakes quietly undermine growth and invite extra algae battles.
Remove packing media before planting. Large clumps of rock wool and other packing left in the water create waste and cloud filters. Peel and rinse away as much as practical so your filtration doesn’t have unnecessary work and so nutrient hotspots don’t form.
Planting depth and crowding
Avoid planting too shallow. Seat crowns and cover roots so portions won’t lift after a water change — aim to bury roots and position the crown at or just below substrate level depending on species and substrate type.
Give stems room to breathe. Crowded bases shade lower nodes, weaken stems, and invite algae growth; plan spacing for the mature size of the plant rather than current pot dimensions.
Mixing substrates without barriers
When combining sand and soil, use edging, buried rock, or containers to stop mixing. Without barriers the bottom blurs, nutrient zones migrate, and maintenance becomes harder.
“Plan for adult size, not just today’s pot — it saves work later.”
- Do: remove large clumps of packing media and rinse roots before planting; small remnants are usually harmless but don’t leave bulky material in place.
- Don’t: plant so shallow that crowns lift after water changes—seat crowns firmly and press substrate around roots.
- Do: use physical barriers (stone edging, buried mesh, or small pots) to keep sand and soil separate in hybrid layouts.
- Don’t: overcrowd pots—choose pot sizes that allow for root spread or plan regular repotting as plants mature.
- Checklist: remove media → confirm crown depth (crown at/just below substrate) → verify spacing for mature leaves → tidy and secure any temporary weights.
- Spacing rule of thumb: leave at least the eventual leaf span between midground clumps (e.g., Amazon sword) to avoid rescues later.
Troubleshooting: When Plants Don’t Thrive
The quickest way to diagnose a struggling specimen is to look at the roots first, not the leaves. Healthy root tissue is usually firm and ranges from white to tan; mushy, slimy, or blackened roots indicate rot and should be pruned back to healthy tissue immediately.
Identify root vs leaf issues: emersed-to-submerged transitions commonly shed older leaves (melt) while new submerged leaves form—this is normal. If leaf loss continues or new growth is weak, suspect issues with light, flow, or substrate nutrition rather than a simple transition. When in doubt, shorten the photoperiod and check dosing before changing multiple variables at once.
Quick diagnosis flow
- Check roots first: firm and pale = generally healthy; soft/black = trim to healthy tissue and replant.
- Inspect leaves: isolated older-leaf melt = normal; continuous pale or dying new leaves = light/ nutrient problem.
- Assess environment: confirm flow reaches lower leaves, test water parameters, and review fertilization and light schedule.
Dealing with pests, pathogens, and algae
Start with sterile stock when possible. For non-sterile purchases, a careful rinse or a controlled dip can reduce hitchhikers—follow product guidance or community-tested recipes and avoid home-made mixes without clear dosing instructions. Tissue culture plants greatly lower pathogen and pest risk at purchase.
- Diagnose from the root up: healthy roots indicate salvageable plants; rotten roots need trimming and replanting.
- If leaves keep failing after roots look healthy, reassess light intensity, photoperiod, and substrate nutrient availability.
- Trim to sound roots and replant portions into stable, nutrient-appropriate zones (soil, root tabs, or pots) to encourage new root growth.
- Balance macro and micro fertilizer dosing so plants receive needed nutrients while reducing the surplus that fuels algae.
“Watch new leaves for improved color and turgor — they are the best sign corrections are working.”
One practical approach: change one variable at a time. Move a struggling specimen to richer substrate or add a root tab, then watch root recovery and new leaf quality for 1–3 weeks before making another change. Photograph roots and leaves before and after adjustments—images speed community diagnosis if you ask for help on a forum.
Top Picks by Tank Type and Goal
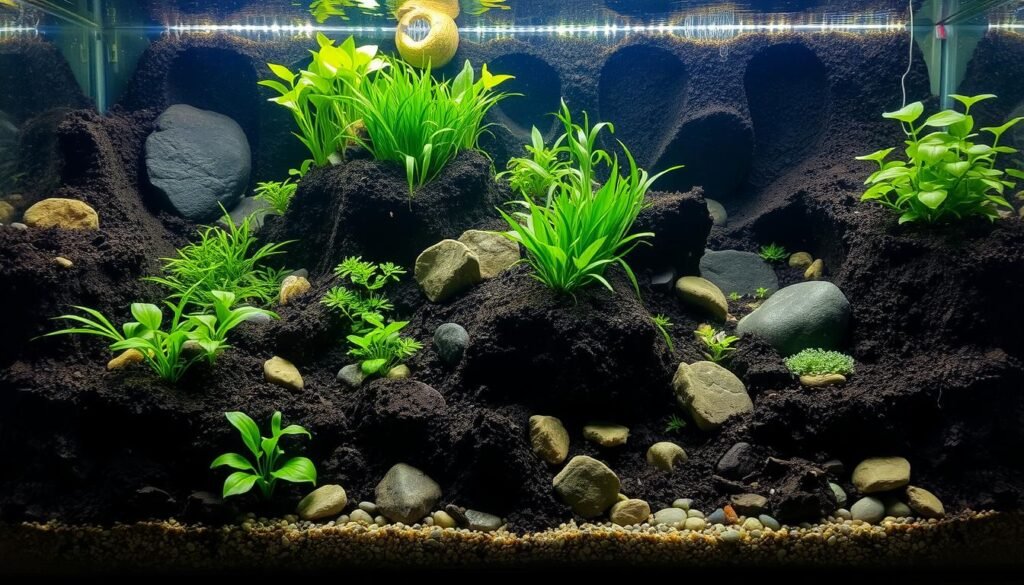
Prioritize hardy specimens for low-effort setups and sterile starts for high-demand layouts. This helps you choose with confidence whether you want quick impact or a clean, uniform cover.
Low-tech tanks without CO2: robust choices
Lean on tough, steady growers that handle variable light and modest care. Potted or bunched forms give instant structure: Anubias and Java fern are great attached or potted foreground/midground options, while Amazon sword and Cryptocoryne make reliable midground statement pieces.
- Use potted or bunched forms to add volume quickly without disturbing substrate.
- Bunched stem plants (hardy stem plants) fill backgrounds; top and replant tips to thicken stands.
- These low-maintenance picks need less intervention and reward steady, simple care routines.
High-tech layouts: sterile starts and dense coverage
For high-light, CO2-rich tanks, tissue culture (in vitro) starts offer a sterile slate and many small portions for even coverage. Invitro carpets like Monte Carlo or dwarf hairgrass perform well in these conditions and reduce the risk of hitchhikers.
- Favor invitro carpets for consistent coverage and minimal pests.
- In shrimp-focused displays, sterile starts lower contamination risk and protect colonies.
- Sample shortlists—Low-tech starter set: Anubias, Java fern, Cryptocoryne, small sword; High-tech starter set: Monte Carlo, dwarf hairgrass, carpet stems.
“Match plant vigor to fish load and maintenance cadence so growth stays in balance week after week.”
Tip: For an established planted tank, add single statement pieces as potted plants to avoid disturbing roots—place one Amazon sword or a clump of Cryptocoryne in a hidden liner pot as a focal point. Choose plants that fit your light, substrate, and home maintenance rhythm, and you’ll get predictable growth and long-term satisfaction.
Tools and Materials Checklist for Planting Success
A tidy bench and the right kit make every planting session faster and less stressful. Gather tools and materials before you begin so work near the tank stays calm, efficient, and low-mess.
Pinsettes, weights, thread, and scaping basics
Pinsettes are essential for precise placement: grip the lower root portion, insert halfway into soil, turn the tips downward slightly, release, and withdraw so the crown stays seated without crushing stems.
- Fine pinsettes (18–25 cm length) for accurate placement and minimal disturbance.
- Plant weights (magnesium-zinc alloy is common) or small lava rock to secure rhizomes and stop floaters until roots hold—check supplier notes for composition and compatibility with sensitive shrimp setups.
- Aquarium-safe nylon thread for tying moss and small epiphytes to rocks or stainless mesh; nylon lasts longer underwater than cotton.
- Keep a supply of pots and liners sized to your planned modules (6–10 cm for small clumps, larger for heavy root feeders) plus a single shallow plastic tray to stage work and capture loose media.
- Prepare a cup of clean water for rinsing tissue-culture gel and wetting roots during prep, and have curved scissors and a soft brush on hand for trimming and cleaning.
“Lay out tools in order—prep, plant, tidy—so sessions flow smoothly and efficiently.”
Kit suggestions by tank size: for small tanks (under 20 gallons) a compact kit—one pair of fine pinsettes, one pair of curved scissors, a small tray, and pea-sized lava rocks—will do; for 40+ gallon setups add extra pinsettes, multiple plant weights, a roll of stainless mesh (304 grade) for ties, and several pots/liners for modular beds.
Care tip: rinse tools after use and keep a towel and waste container beside the bench to avoid introducing debris to the tank. Using the right tools and staging your work reduces plant stress and protects water quality while you pot, plant, and prune.
Conclusion
Build layers that make the hard work invisible: open beds, hidden supports, and focused planted modules let your tank read as calm and deliberate while making maintenance straightforward.
Use removable pots to lift and prune without uprooting neighbors. Blend open foregrounds with soil-fed modules in pots to feed hungry roots while keeping paths and visual negative space clean.
Start clean when needed with in vitro starts—see more on sterile options in vitro starts. Rinse media, trim long roots, and plant with pinsettes for precise placement and clearer water; species like Anubias or a small Amazon sword make excellent statement pieces in liners or pots.
You’re ready to choose confidently. Action steps: 1) pick two starter potted plants that match your light and substrate; 2) mark potential pot locations on a sketch of your tank and test placement; 3) observe adaptation for 2–4 weeks and adjust placement or care. Start with one potted specimen, then expand as you learn—this way your planted tank grows with your home and routine.
FAQ
What are the main benefits of using potted plants in my tank?
How do potted, bunched (stem), and tissue culture options differ?
When should I choose tissue culture over a pot or bunch?
Is rock wool safe, and how do I remove it without damaging roots?
Can I plant directly in sand or should I use aqua soil?
How do I anchor pots so tall species don’t float up?
What’s the best way to transplant from cups or pots to the main substrate?
How soon should I expect melt or adaptation after moving plants from emersed to submerged growth?
How often should I trim stem varieties and daughter growth?
What causes algae when using pots and how do I prevent it?
Are there risks to leaving rock wool or potting mix in the tank?
What tools should I have on hand for potted and tissue culture planting?
How do I transition plants from cups to a low-tech tank without CO2?
What common mistakes should I avoid when using pots and mixed substrates?
How can I hide pots for large root feeders without sacrificing access?