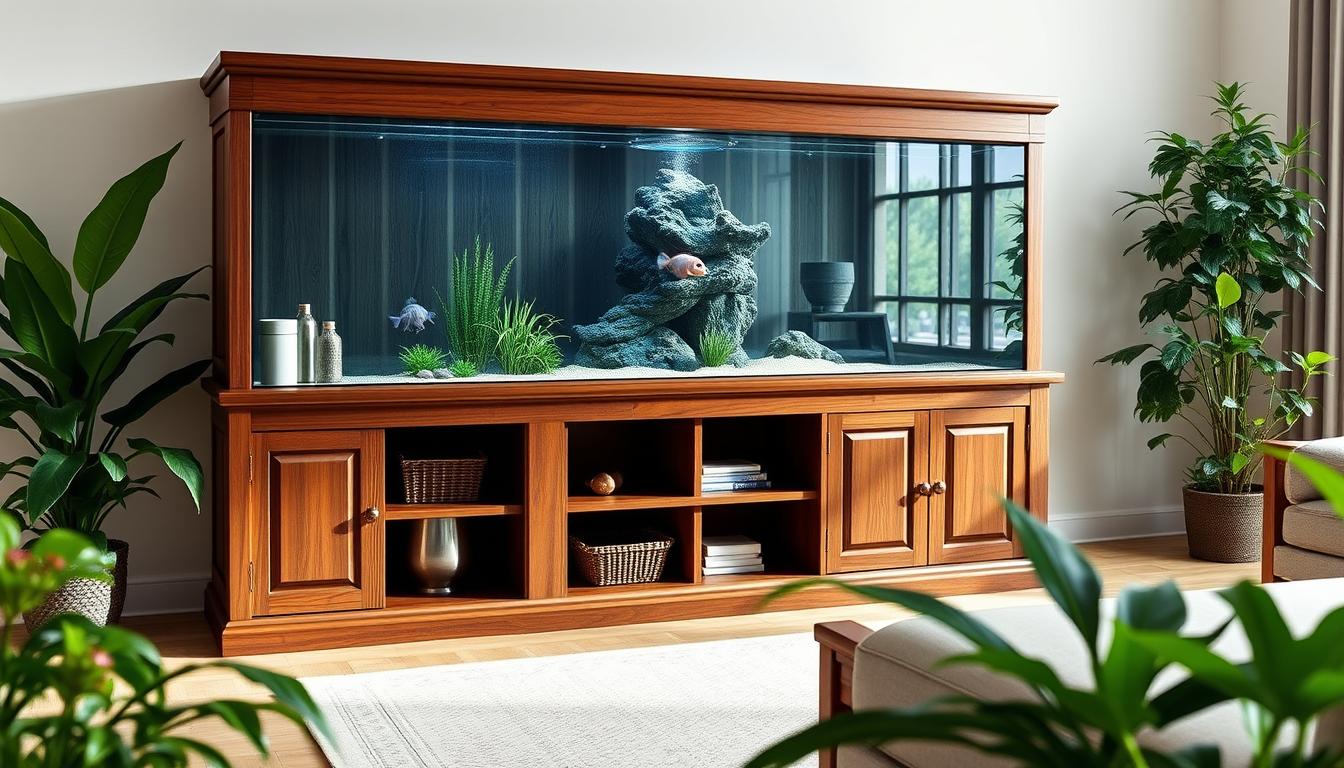
Build confidence from day one. A truly sturdy 100 gallon aquarium stand is furniture-grade support: it must safely carry the fully loaded tank, protect your fish, and hold up for years without fuss.
Know what to expect up front. Read on and you’ll learn simple checks to confirm strength, where to place supports, and how to brace against sideways forces so your stand performs reliably for the life of the setup.
Decide early whether you will build or buy. Measure the tank footprint to match your long-tank layout, then choose materials and fasteners rated for long life rather than short-term convenience.
Craftsmanship matters. Straight cuts, square assemblies, and consistent fastener patterns turn a shaky cabinet into a rock-solid base that can confidently carry a heavy fish tank.
Sketch the plan, write a parts list, and note the tests you’ll perform before driving the first screw. This introduction sets a single goal: a furniture-quality front with full access, clear load paths, and proven strength.
Key Takeaways
- Confirm a design is strong enough before you build—do the math and plan supports to match the load.
- Map the stand footprint to your long-tank layout so the rim always sits on continuous support.
- Prioritize durable materials and proper fasteners over quick fixes.
- Use precise cuts and steady fastener patterns for lasting stability.
- Document your plan and pre-build checks (cut list, screw sizes, and test weights) before starting construction.
Why a well-built 100 gallon aquarium stand matters today
A reliable frame removes worry and keeps your system safe through daily use. A fully equipped 100-gallon aquarium setup commonly exceeds 1,000 pounds once you include water (8.34 lb/gal), glass or acrylic, substrate, rock, sump, and equipment. The stand must carry that load without creeping, vibrating, or slowly shifting out of square.
Safety, stability, and peace of mind for your aquatic community
The danger isn’t only a vertical collapse. Subtle racking and lateral shifts slowly loosen joints and fasteners. Even small sideways movement—fractions of an inch under repeated load—can stress silicone seams and plumbing connections, increasing leak risk and stressing fish and corals.
Good framing stops tiny movements. Solid bracing and a proper shear panel reduce micro-motion that transfers stress to glass, silicone, and equipment. That protection preserves your fish, keeps aquascapes intact, and protects your investment in the long term.
- Redundancy: Design the frame so a single loose member won’t let the cabinet deform—add paired posts, blocking, or extra rails in key spots.
- Longevity: Proper framing and fasteners resist seasonal wood movement and prevent delayed failures months or years later.
- Home safety: Level, stable supports reduce tipping risk and help protect floors, pets, and children.
Understanding how your frame counteracts torsion and lateral loads should drive every build choice. Address those forces up front and your aquarium and fish will be safer for years to come.
Sizing and load basics for a 100 gallon aquarium stand

Know the full-system mass before you place a single brace. Start with water (8.34 lb/gal) — a 100 gallon tank holds about 834 lb of water — then add glass or acrylic, substrate, live rock, sumps, and equipment. As a rule of thumb apply a 15–25% safety factor so your design isn’t marginal under real use.
Force follows the rim. The heaviest loads occur where the glass meets the frame. Plan continuous support along the entire footprint so load travels straight into legs and into the floor rather than bending unsupported spans.
Long spans (the long axis of a tank) flex more than the short side. Add internal supports under the long face — posts or mid-span rails — to keep the top dead flat and reduce visible deflection.
- Corner care: Treat each corner as a primary bearing point that must transfer vertical force with minimal bend.
- Compression lines: Visualize rim edges as columns — center braces should land beneath these load paths, not under unsupported glass.
- Stress risers: Reinforce areas around cutouts or openings (plumbing, access panels) so you don’t weaken edge continuity.
Also check the rear top rail: it ties the frame together to resist racking. For long spans avoid oversized gaps between verticals — either use thicker members (e.g., 2×6 where appropriate) or add posts so deflection remains below visible thresholds.
Framing fundamentals: 2×4 strategy and vertical support layout

A precise top-and-bottom perimeter is the foundation; build it first and everything else lines up cleanly.
Perimeter frame top and bottom along the tank footprint. Start with straight, dry 2x4s laid as matching top and bottom rails. Keep crowns oriented the same way so bearing surfaces remain flat. This rectangle establishes the primary load path into the legs and floor.
Step 1 — place vertical members at corners and intervals to prevent rotation
Set perimeter vertical posts at all four corners first. Then add intermediate posts along the long runs so spans remain short. With corners and intervals in place the top and bottom rails act as tied columns and resist torsion.
Step 2 — when to add 2x4s at mid-span and along long sides
Reinforce high-load zones by adding 2×4 posts at corners and at regular intervals on the long faces. If in doubt, add mid-span 2x4s to cut bounce. For long tanks place a post or rail roughly every 18–24″ along the long axis, or use thicker members (2×6) where spans exceed practical limits.
Step 3 — level, square, and fastener patterns that keep the stand strong
Lock joints with full contact faces, screws, and gussets. Use a consistent fastener pattern (for example, 3″ exterior-grade wood screws, two per joint) and construction adhesive at key seams so the frame behaves as one unit. Align legs directly under rim-supporting rails and repeatedly check level and square during assembly.
- Start with a true rectangle: measure diagonals to confirm squareness.
- Place perimeter vertical members under rim-supporting rails to carry the load directly into posts and floor.
- Add 2×4 verticals or blocking every long panel as spans grow to keep deflection below visible limits.
Sheathing and bracing: plywood back side, fence boards vertically, and stopping lateral movement

A stout shear panel turns a wobbly cabinet into a resolute frame that resists sideways force. For most 100 gallon aquarium stands a well-fastened plywood back (3/8″ is common) provides the primary shear resistance. Fasten the panel with screws on a regular grid—approximately 6–8″ along edges and 8–12″ across the field—and use construction adhesive between panel and rails for a glued-and-screwed shear path.
Vertical fence boards on the front and sides are attractive but contribute little shear unless tied into a solid blocking substrate. If you choose back-only sheathing, add corner blocking and an interior horizontal cleat at the upper third (or a diagonal brace) to resist torsion.
When a full plywood skin isn’t practical, use staggered panels with blocked seams so load transfers across joints. Plumbing cutouts are fine if framed: reinforce each opening with blocking and keep fasteners within a few inches to preserve the shear path.
- Middle ground: single back panel + 6–12″ side shear strips gives near-wrap stiffness while keeping access for plumbing and sump items.
- Fastener technique: pre-drill near edges, use exterior-grade screws (or ring-shank), and apply adhesive—this prevents pull-through and keeps the face from working loose over time.
- Materials & finishes: prefer exterior-grade plywood (BCX) or Baltic Birch for visible furniture faces; seal interior exposed edges and use moisture-resistant finishes where splash is expected.
Finish, function, and final checks before filling

The final phase blends style and safety. Choose front facings that hide hardware but never alter or remove load-bearing members. Attach decorative slats, shaker doors, or trim to a face frame or cleats so the structural framing remains fully intact.
Do a dry run in the room. Move the completed cabinet into its final position and check for rocking. Use thin metal or plastic shims under legs to level the stand; only when it sits flat should you add any foam or neoprene pads beneath the tank.
Inspection checklist: square, wobble-free, ready for water
- Measure diagonals to confirm the cabinet is square (diagonals equal within 1/8″ is a good target).
- Re-check all fasteners and reinforcement around any cutouts or openings; tighten screws and add blocking where needed.
- Verify the top is level both front-to-back and side-to-side; address any rocking with shims under the legs or load-bearing points.
- Stress-test the top with distributed weight (sandbags or water jugs) roughly equal to the tank’s expected footprint load—listen for creaks and watch for visible deflection.
- Confirm doors and access panels clear sump plumbing and that ventilation will control humidity inside the cabinet.
Finish interior surfaces with sealed edges and a moisture-resistant coating—an oil-based primer or marine varnish in splash zones works well. Protect exposed plywood edges with edge banding or sealant where humidity is likely.
Keep a short build log listing materials, fastener sizes, and any on-build changes. That log is useful for future troubleshooting, for sharing with other aquarists, and for reference if you sell or move the aquarium stand later.
Conclusion
A well-built base ties together smart load paths, tight framing, and purposeful sheathing into lasting stability. Start with a flat, level top and keep spans short so the load moves directly into legs and down to the floor. Include a locked back shear panel and use clean, secure fasteners to prevent racking over time.
Keep aesthetics practical. Choose front finishes that look refined but never cut into load-bearing members. Attach trim, slats, or doors to a face frame or cleats so the structural frame remains untouched and plumbing access remains clear.
Trust your checks: level, square, and stress-test before any water arrives. Build with confidence and maintenance, aquascape changes, and daily use become easier. A solid 100 gallon aquarium stand makes the fish tank and the aquariums you keep safer and more enjoyable.
FAQ
Why does a well-built stand matter for a large tank?
How do I estimate the full-system weight and ensure the stand will hold the load?
Where do forces concentrate — the short side or long side — and how does footprint affect design?
What framing strategy with 2x4s works best for preventing rotation?
Should I add 2×4 sides at every corner and along the long side?
How do I keep the stand level and square during assembly?
Is 3/8″ plywood on the back enough to resist sliding (racking)?
Are vertical fence boards on the front and sides sufficient, or should I add horizontal bracing?
Should I use a single piece of plywood on the back or wrap the entire stand with plywood skin?
Are holes in sheathing or panel breaks acceptable, and how many can I have without weakening the stand?
How do I make the front look clean with wood slats or panels without losing strength?
What final checks should I perform before filling the system?