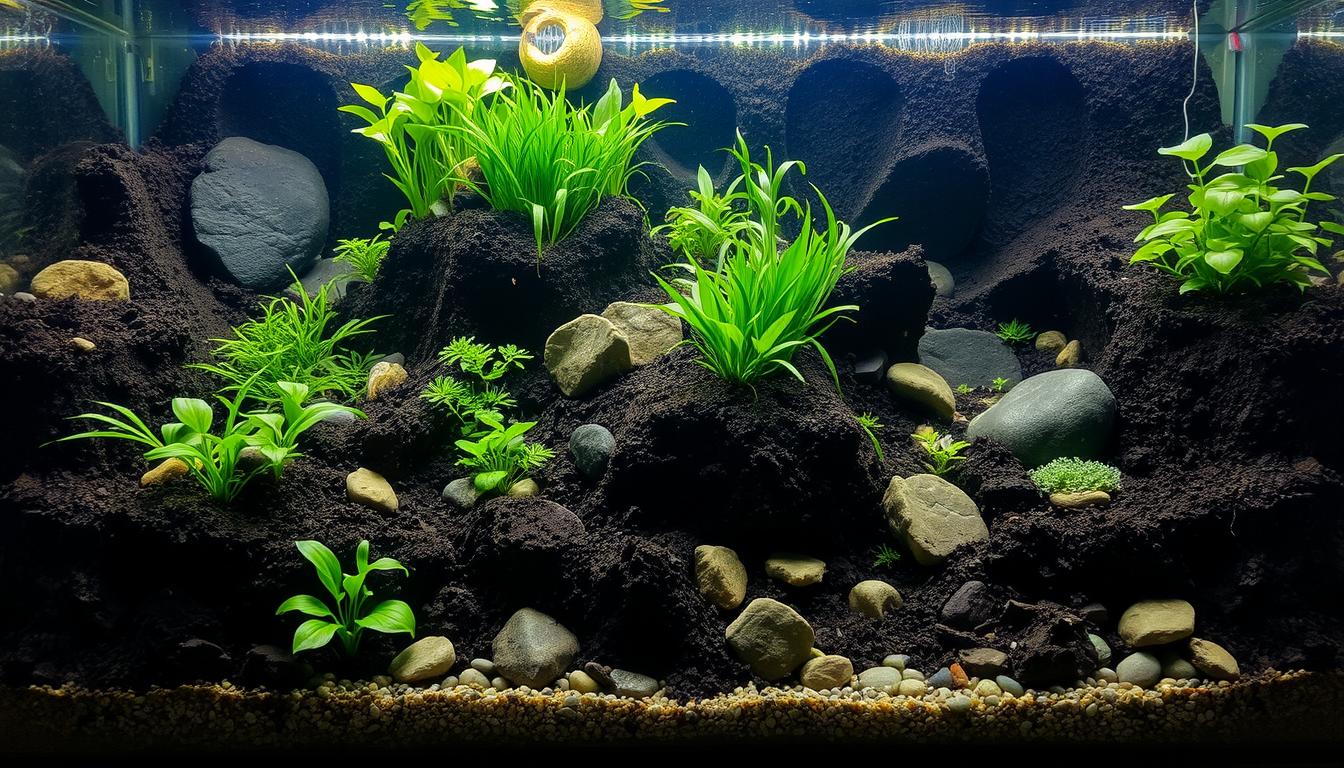
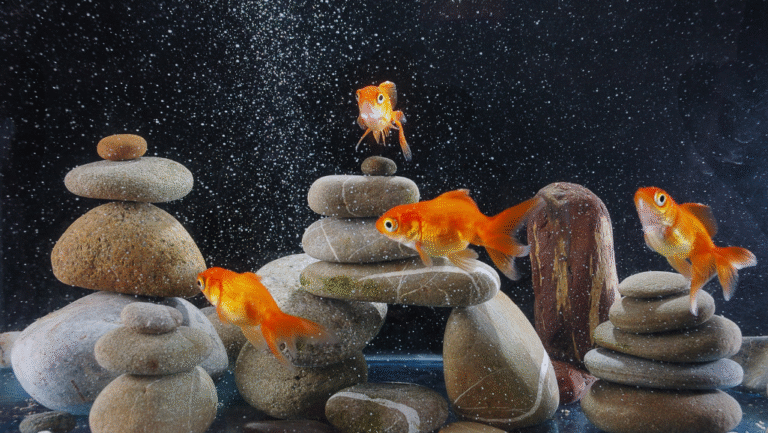
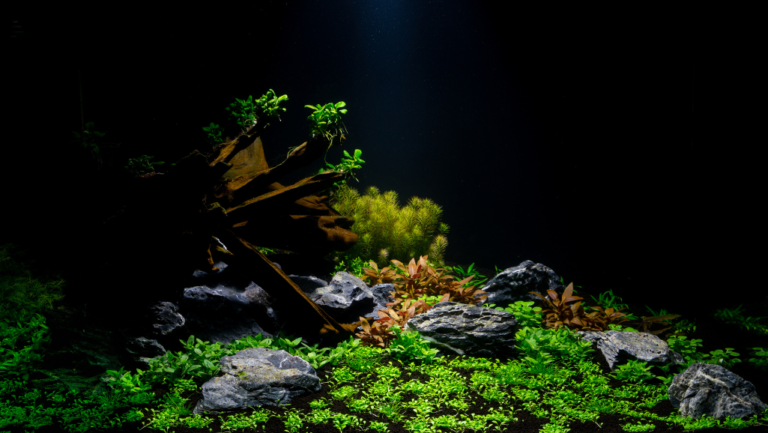
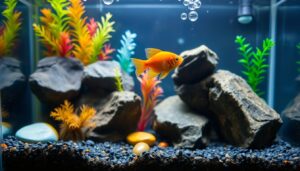
Hardscape is the backbone of any planted tank. It uses natural materials like stone and driftwood to give scale, shelter, and a calm, natural look.
Think of each rock as a story element that helps your aquascape design mirror the living world.
Good selection—Seiryu, Dragon Stone (Ohko), Elephant Skin, and Lava Rock—gives texture, color, and form that play with light and water.
This guide will show how to choose safe materials, compose groups and detail stones, pair wood and plants, and balance water chemistry for healthy fish and lasting beauty.
Commit to quality and a patient, iterative approach. With clear steps, you can order create your vision from concept to a layout that looks intentionally wild rather than cluttered.
Key Takeaways
- Aquarium Hardscape Rocks and a natural look that anchors your hobby.
- Choose aquarium-safe stones like Seiryu and Dragon Stone for character.
- Use clusters, detail stones, and negative space to achieve authenticity.
- Combine wood, plants, and proper water care for fish health and stability.
- Work in stages: plan, test layouts, and refine for an intentional aquascape design.
Why Hardscape Matters: Building the Soul of a Planted Aquarium
A strong layout begins when stone and wood act like weathered landmarks, shaping how the eye and water move.
Reframe randomness as intentional. Clusters and uneven groupings mirror how stones settle in rivers and shorelines.
Place larger forms to anchor a scene and let smaller pieces tuck in as sheltered accents. That tells a story of flow and gravity.
Hardscape vs. softscape: rocks, driftwood, and plants working together
The hard elements set shape, weight, and visual hierarchy. Plants soften edges and add seasonal color.
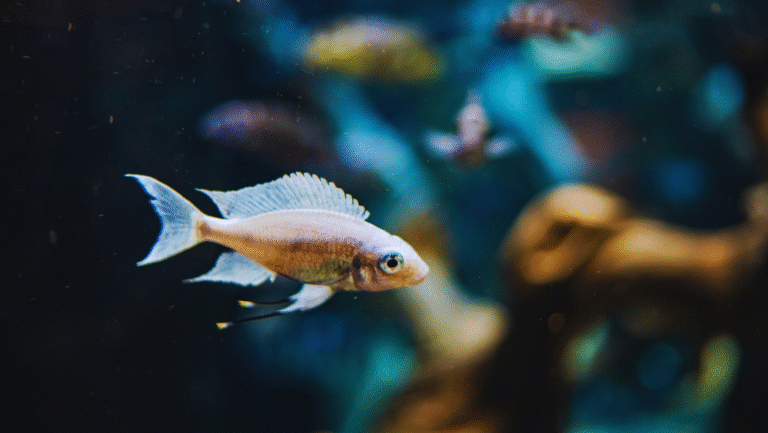
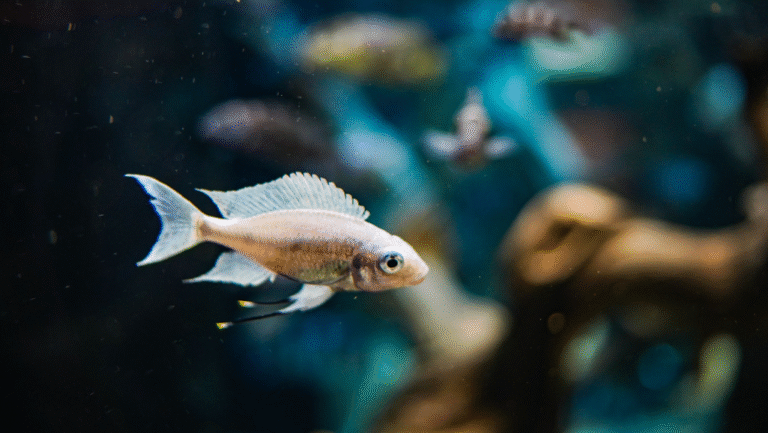
Together they create movement, hiding spots, and layers where roots and mosses can take hold. Fish then bring scale and life.
“Negative space is not empty — it is the breath that makes a scene believable.”
- Use erosion-inspired groupings to guide the eye.
- Leave open corridors for fish and flow.
- Design with gentle currents and maintenance in mind to preserve the original look.
Aquarium Hardscape Rocks: Choosing the Right Stones for Your Vision
Let the shape and surface of each stone direct movement and mood in your layout.
Texture and color set the scene. Pick stones whose surface and hue match the biome you want—rugged slabs for mountains or smooth pebbles for riverbeds.
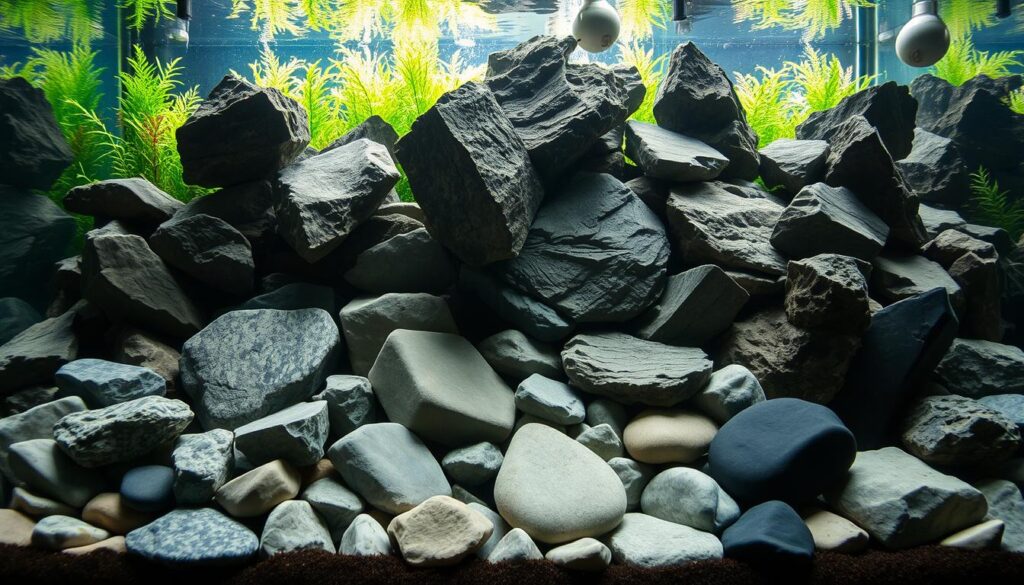
Size matters, but so does visual weight. A flat slab can read heavier than a round boulder from the front. Use an anchor stone to set the story, mid-size pieces to build terrain, and small sizes to knit transitions.
Practical selection tips
- Test dry, then wet: assemble on a table, spray with water to preview wet color and shine.
- Limit types: one primary rock family keeps the scene cohesive; vary edges and faces within that group.
- Plan pockets: choose pieces with cracks or shelves to hold moss, Anubias, or Bucephalandra.
- Bring extras: more pieces mean easier micro-adjustments during final placement.
Focus on how the rock reads from your viewing angle, not just its measured size. That view-driven approach makes the whole tank look intentional and natural when the water and light do their work.
Popular Aquascaping Rocks and What Makes Each Special
Each stone family brings its own voice, shaping mood, texture, and how plants and fish claim space.
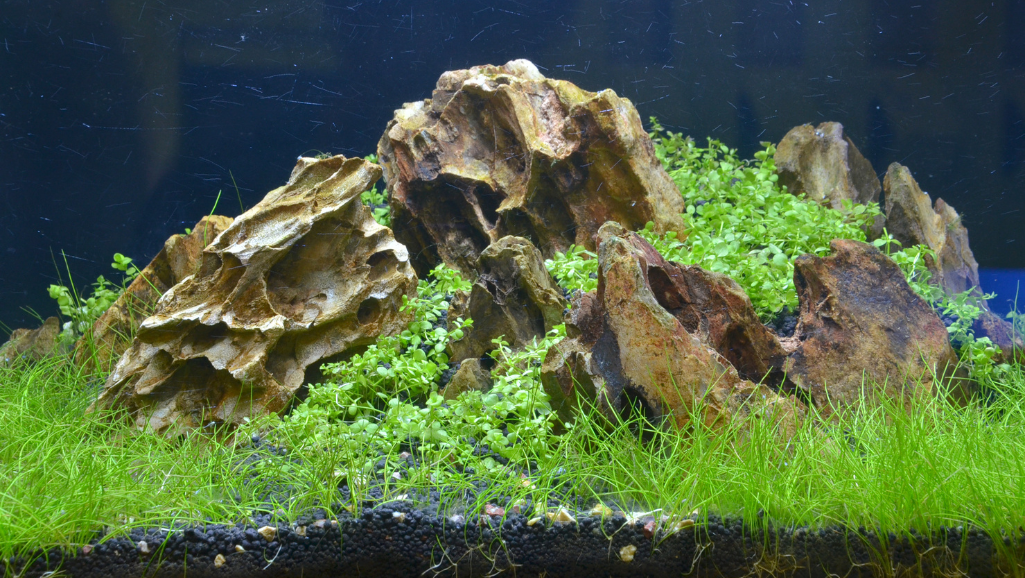
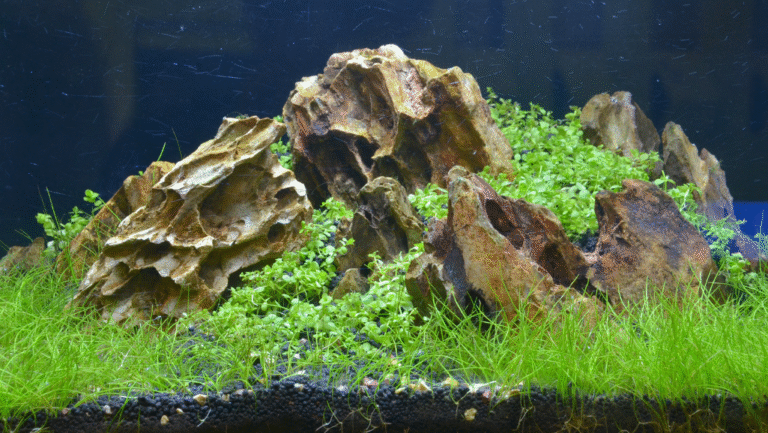
Dragon stone (also known as Ohko) is prized for its named scale-like texture formed by water erosion. It’s light, argillaceous, and generally inert. Small holes accept mosses and fine roots, making it perfect for mountain scenes and planted cliffs.
Seiryu (Ryuoh) offers dramatic ridges and cool gray tones. Be careful: this natural rock releases carbonates that raise KH and GH. Mitigate with RO water, larger water changes, or safe pre-soaking to protect livestock.
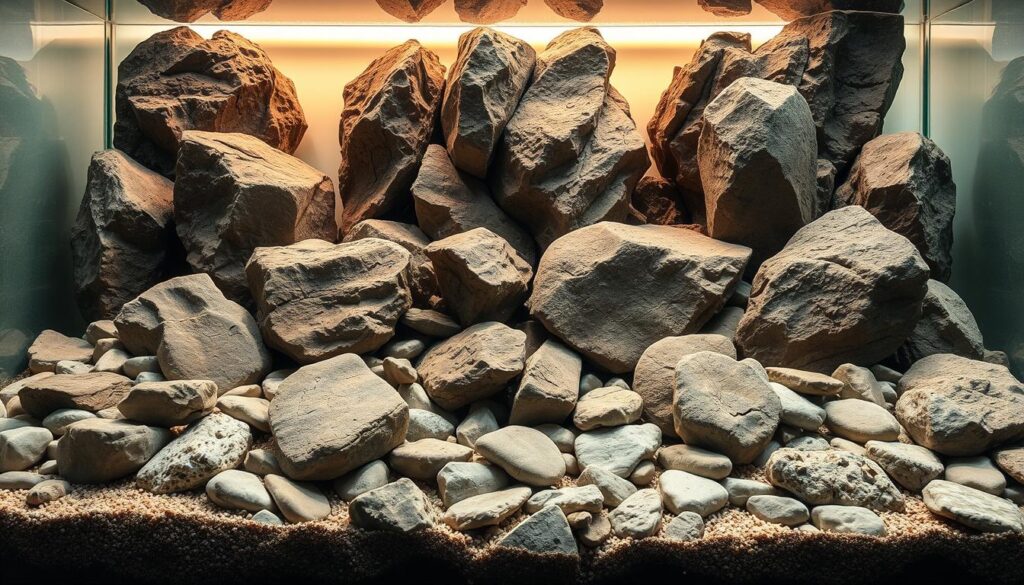
Elephant Skin (dolostone) shows a weathered “skin” texture and tends to harden water. That suits some biotopes but needs planning if you keep soft-water fish.
Lava varieties like Koke and Unzan are porous and plant-friendly. They hold epiphytes and bacteria well; Unzan even has carved planting pockets for dramatic, planted cliffscapes.
Manten and Frodo read like mountain spines and are ideal for Iwagumi. Use a few rugged pieces for instant drama.
- Pagoda — layered sandstone that adds strata and subtle hardening.
- Sansui — volcanic, layered, and textural for contrast.
- Kei — warm ocher-to-red hues that enrich earthy palettes.
Pick one family of stones to keep geological realism, then add small accents from the same group to finish seams. Retailers sell many sizes; hand-select varied faces and keep spare pieces for last-minute swaps. Always match rock choice to your stocking plan, plant picks, and maintenance routine for a harmonious result.
Design Techniques for a Natural Look
Designs that read as “found nature” begin when you mix grand anchors with tiny, telling fragments.
Build a clear size ladder: include XL focal pieces, large and medium supports, small stones, and tiny accent stones. This range gives depth and a believable look.
Include size variation
Use varied sizes so the scene feels discovered, not placed. A single thin slab can read larger than a round boulder from the viewing side. Test visual weight and swap pieces until the balance is right.
Be mindful of spacing
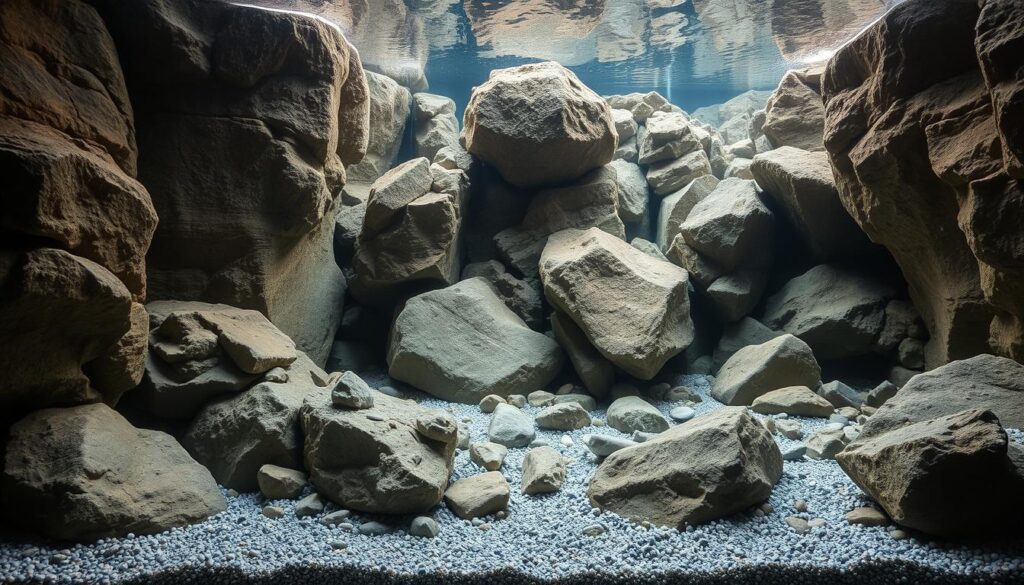
Favor irregular clusters over grids. Let small stones nestle behind larger ones like water has pushed them there. This mimics natural erosion and the patterns of found nature.
Consider direction
Pick a motif: a harmonious lean, radiating energy from a point, or opposing flows to add tension. Direction guides fish, current, and the eye.
Add details and negative space
Concentrate pebbles and crushed material near bases and crevices, then let density fade into open corridors. Leave intentional sand flats so your main rock feels monumental.
“The smallest details make a scene believable.”
- Coach a spectrum of sizes for realism.
- Mist layouts with water to preview wet color and shadows.
- Keep plants and root space in mind while composing the layout.
Hardscape Layouts That Elevate Your Aquascape Design
A strong layout channels the eye the way a river carves a canyon. Start with a clear focal point, then arrange supporting forms so everything reads as one scene.
Iwagumi principles: primary, secondary, and supporting stones
Choose an oyaishi (primary stone) that anchors scale and angle. Place fukuishi and soeishi to echo its tilt and texture.
Keep geology consistent. Matching stone families creates rhythm and avoids visual conflict in a planted aquarium.
Islands and riverbeds: shaping water-worn scenes
For island layouts, raise substrate into a gentle mound and cluster a main rock group at the crest. Taper the substrate outward and leave negative space to suggest shoreline calm.
For riverbeds, carve a channel and stage smaller stones downstream from larger ones. Tilt pieces slightly into the current to unify direction and help stabilize planting pockets.
“Tilt stones into flow; they read as natural and hold plants better.”
- Use foreground sand as a visual path and cleaning lane.
- Layer heights so the eye moves from foreground to background ridge.
- Design for maintenance—leave siphon and scrub access.
Integrating Aquarium Driftwood and Plants with Stonework
When driftwood meets stone, the contrast of soft curves and hard planes creates natural drama.
Compose with contrast: let smooth roots sweep over rugged stones so leaf texture and rock color play off one another. This builds depth and a believable scene for fish and plants.
Contrast and complement: roots, stones, and leaf textures
Choose wood types to match your plan. Malaysian and Mopani usually sink and may tint water warm. Manzanita floats and needs anchoring. Spider Wood, also known as Redmoor, should soak 1–2 weeks to reduce buoyancy and biofilm.
Keep plant placement light on focal faces so greenery enhances, not hides, the main silhouette.
Attachment tips: mosses, Anubias, and Bucephalandra on rock pockets
Anchor epiphytes in crevices and lava pockets. Lava and Unzan accept moss and epiphyte roots readily.
- Use thread or aquarium-safe glue to fix Anubias, Bucephalandra, and moss.
- Hide joins with fine detail stones to “root” wood into the terrain.
- Place slow growers on key faces to keep contours crisp; reserve fast growers for background transitions.
Pre-soak or boil driftwood to lower tannins and sterilize. A slight amber tint can look natural, but plan water chemistry to protect fish.
“Mist layouts during planting to reveal true tones and match plant choices with your palette.”
Final details: mist hardscape while you work, check texture and color, and step back often. Small adjustments make the scene feel intentionally wild and ready for long-term growth.
Water Chemistry and Compatibility Considerations
A well-chosen scape begins with chemistry: predict how each element will nudge your water values.
KH/GH impacts: Calcareous stones like Seiryu and dolostone release carbonates. That raises KH and GH and can suit hard-water species. It can stress a planted tank built for soft water.
Mitigate shifts by doing large water changes during the first 7–14 days. Use RO or demineralized water to dilute mineral release. For stubborn Seiryu, some hobbyists pre-treat in 25–30% HCl for 3–4 days; wear rubber gloves and rinse thoroughly if you try this.
Preparing stone and wood: cleaning, soaking, safety basics
Scrub all rocks to remove dust and debris. Test the layout dry and press pieces so nothing can topple and crack glass.
For wood, soak 1–2 weeks with periodic water changes to leach tannins and help sinking. Boiling for 1–2 hours sterilizes and speeds clarity for sensitive fish.
- Test parameters: measure water for a week before adding livestock to confirm stability.
- Match materials: choose inert Manten or Dragon Stone to simplify chemistry, or use dolostone when you want mineral-rich water for specific biotopes.
“Stable numbers protect plants and fish and reduce algae pressure.”
Scaling Your Hardscape to Tank Size
Scale your stone groups to the tank so each element reads like it belongs, not like an afterthought.
Filling visual space in nano, 60 cm, and larger tanks
Nano setups need bold single stones and tight details to read as large. A single strong focal piece with close-in accents makes a small planted tank feel intentional.
For a 60 cm display, choose a clear primary rock with layered supports. This creates depth and visual steps that look rich from the front glass.
Larger systems demand bigger anchors and more pieces. Increase cluster width and rock height so the composition doesn’t get lost in open water.
- Plan by sizes: bring extra medium and small stones to stitch transitions and hide gaps.
- Dry-fit on a template: test sightlines seated and standing before final placement.
- Stocking view: shoals and new rice fish can emphasize scale; leave steady lanes for safe swimming.
- Maintenance: keep access behind clusters so tools and siphons reach without tearing the layout.
“Measure visual thirds and diagonals; place anchors near power points to guide flow and attention.”
Tip: as tank length grows, treat negative space as part of the composition. Larger volume spreads light and nutrients, so favor stronger focal rocks and concentrated planting to keep the scene coherent and lively for fish and plants alike.
Pro Tips and Creative Ideas for Standout Hardscapes
Accent placements act like signposts, steering attention through a planted scene. Use small features to build visual order so viewers follow a clear path to your focal point.
Using accent stones to guide the eye
Place accent stones like punctuation along slopes and corridors. They nudge the eye toward the main rock and add cinematic rhythm to your hardscape layout.
Tip: cluster detail stones densest at bases to sell scale and shelter for fish stock and new rice or rice fish groups.
Leveraging erosion cues for an authentic, nature-first look
Tell an erosion story: seat small stones in the lee of larger forms and scatter fine gravel in gentle gradients. Align faces as if water sculpted them over decades.
- Match textures—pair dragon stone’s named scale-like texture with pebbles that echo facets.
- Choose materials that share geological logic so the aquascape design reads as found nature.
- Stage epiphytes in seams where organic debris would collect to enhance realism.
“Rotate pieces until light grazes texture and color; subtle planes make the scene feel expansive.”
Conclusion
Well-chosen elements and careful placement turn a concept into a calm, lasting display.
Choose stone by color, texture, and shapes so your scene reads like found nature from day one. Combine sizes with intent, cluster pieces to echo erosion, pick a clear direction motif, and refine small details to hide seams.
Match materials to goals: pick inert or mineralizing rocks based on desired parameters, and prep each piece with washing, soaking, or boiling. Take progress photos as you dry-fit; images reveal uneven spacing and color balance better than the eye alone.
Be patient and iterate. Use these principles across any footprint, source quality aquarium hardscape supplies, gather tools and detail gravel, then bring your vision to life with water and light. Let the finished planted aquarium calm the room and support healthy fish stock.
