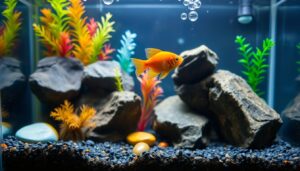
This base layer is the living foundation of every planted tank. It anchors roots, hosts helpful biofilm and microbes, and turns debris into nutrients for healthy plant growth.
Choose the right substrate and you streamline maintenance, clarify water, and help leaves grow stronger and more colorful.
Know the types: nutrient-rich soil systems, easy-care sand or gravel, and layered mixes that combine benefits. Grain size around 1–3 mm favors rooting and keeps textures safe for bottom dwellers.
Biofilm in the substrate breaks down organics into plant-ready food and improves clarity. Minerals like aragonite raise hardness, while peat-rich aquasoils soften water and lower pH for soft-water species.
This guide will translate those technical choices into simple steps so beginners and veterans can pick the right aquarium substrate and build a stable, low-maintenance environment that lasts.
Key Takeaways
- Planted Aquarium Substrate.
- The substrate anchors roots and fuels plant growth through microbial action.
- Choose between nutrient soils, inert sand/gravel, or layered mixes to match your vision.
- Grain size of 1–3 mm is ideal for rooting and bottom-dweller safety.
- Mineral and peat-based options change water chemistry—match to your species.
- The right choice reduces algae, stabilizes parameters, and lowers maintenance.
Why Substrate Matters Now: The Foundation of Every Planted Tank
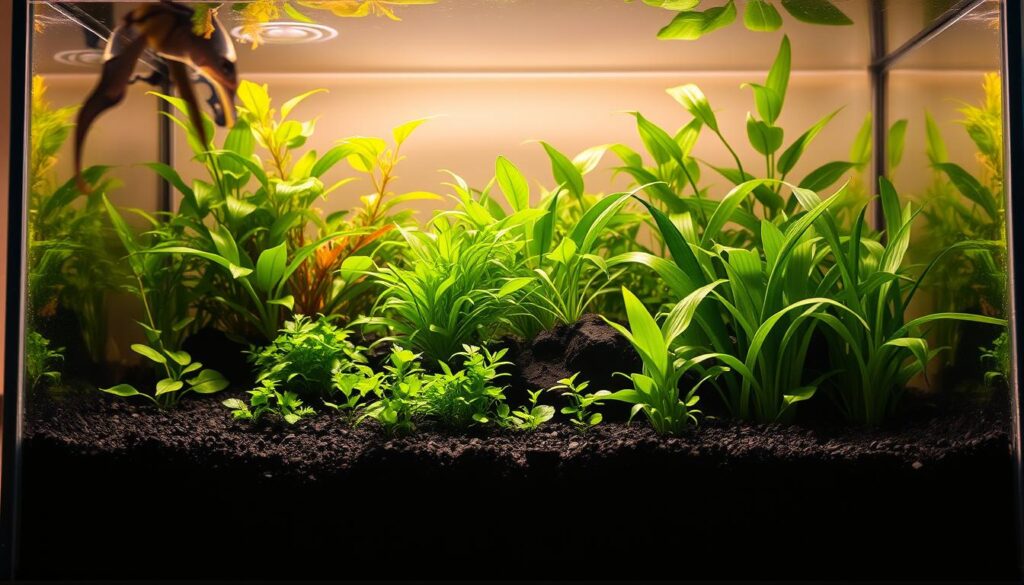
A tank’s base does far more than hold décor — it runs the hidden systems that feed and anchor every plant. Below the visible scene, a porous matrix lets roots secure themselves, exchange gases, and pull in steady nutrients.
The living layer under the surface hosts biofilm and microbes that bind fines, trap debris, and convert organics into food roots can use. That process supports cleaner water and steadier growth for both plants and fish.
Choice matters. Soils with peat tend to buffer pH slightly acidic and lower KH, which many soft-water species prefer. Inert media like sand or baked clay are stable but offer few nutrients and need regular fertilization.
- Grain size near 1–3 mm prevents compaction and protects bottom dwellers.
- Color, texture, and slope affect the final look and substrate stability.
- Decide if you want maximum plant performance, tight parameter control, or a hybrid balance.
Get the foundation right now, and you’ll see fewer uprooted stems, easier maintenance, and an environment that matures gracefully over time.
Planted Aquarium Substrate Types Explained
Different base materials drive plant health, look, and long-term tank chemistry in distinct ways.
Inert options (sand, gravel, baked clay) are stable and low-maintenance. They supply little to no nutrients and keep water chemistry predictable. Baked clay variants like Flourite and Turface add porosity and cation exchange capacity (CEC), but plants still need root or water dosing.
Commercial aquasoils
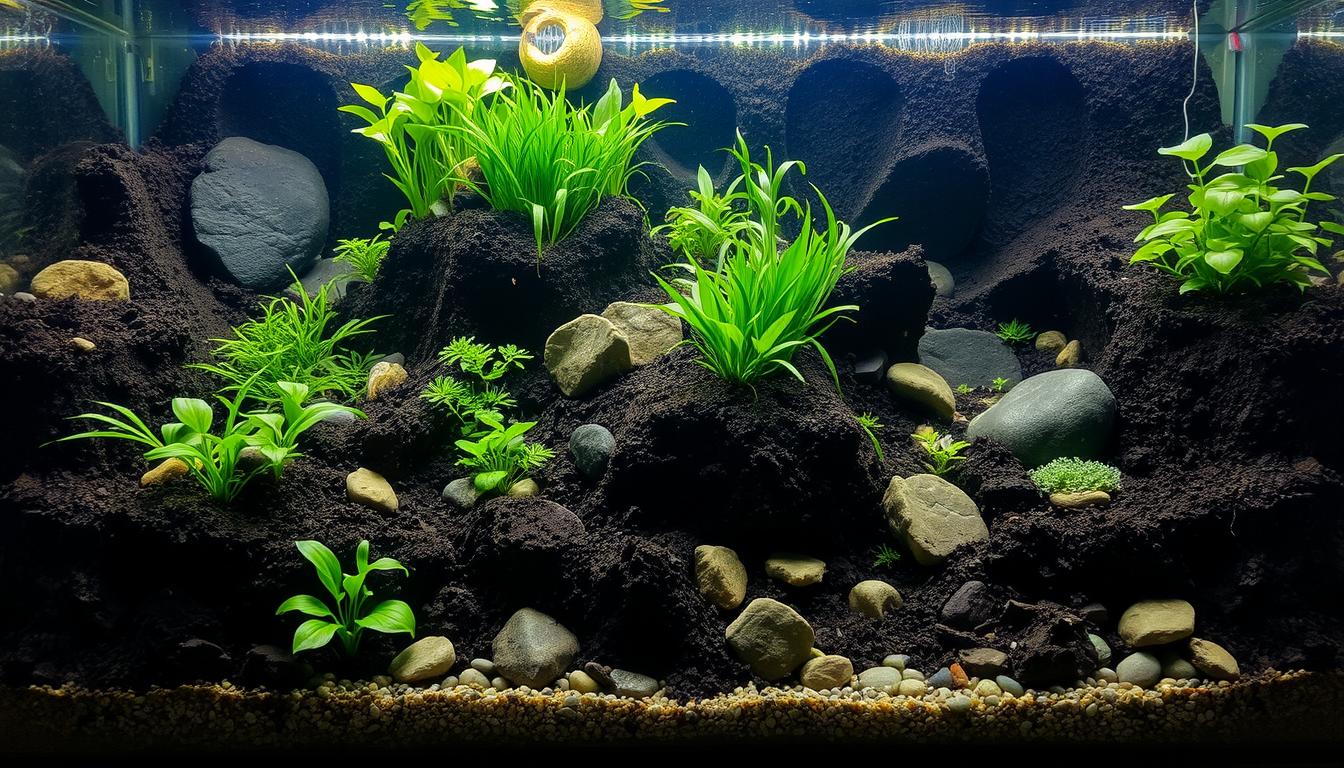
These are soil granules baked for use in aquariums. Brands such as ADA Amazonia, Fluval Stratum, and Tropica Aquarium Soil come charged with nutrients and often include peat to buffer pH slightly acidic. They jump-start root growth but release ammonia early and will need replenishment over months.
DIY layered systems
Budget builds use mineralized garden soil or worm castings under a cap of sand or gravel. This method saves money but varies by raw material quality. Keep organic content low and avoid heavy compost or sticky clay to reduce mess and nutrient spikes.
- Choose by goal: control and clarity, high performance, or low cost.
- Maintenance differs: inert media favor precise dosing; aquasoils ease start-up then need refills; DIY needs careful setup.
- Planting feel: heavier rounded grains hold plants, while light soils are delicate but fast-growing.
Choosing Grain Size, Weight, and Texture for Healthy Roots
Small physical choices produce big benefits. The right grain mix helps roots breathe, holds stems steady, and protects bottom-dwelling life. Below are practical guidelines to balance planting performance with fish safety and water flow.
Grain size sweet spot: 1–3 mm for most planted setups
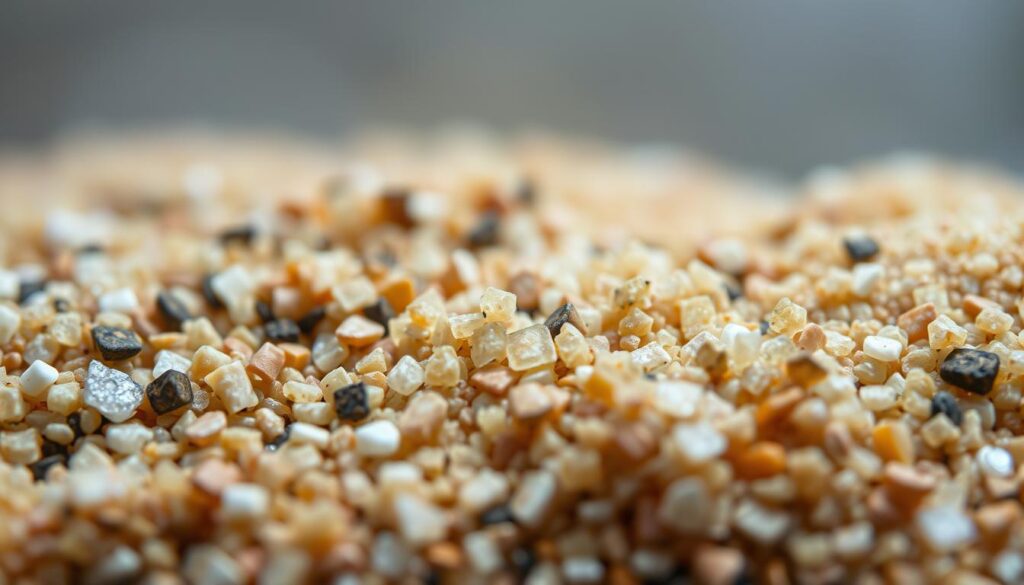
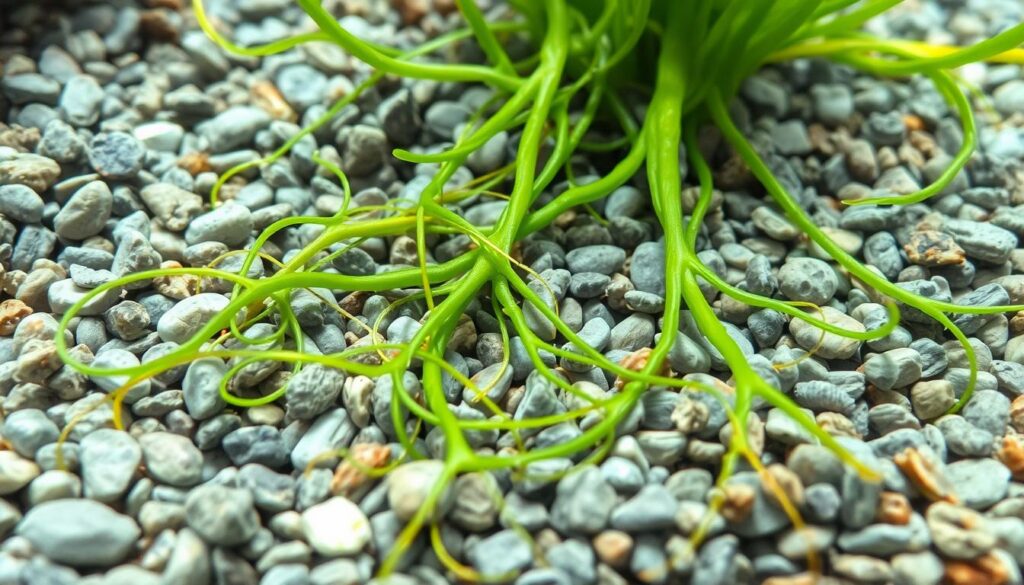
Aim for 1–3 mm. This size balances aeration and root penetration while allowing stable slopes and easy planting in most aquarium styles. Very fine sand compacts and can starve roots of oxygen.
Weight and plantability: why very light media complicate planting
Light, buoyant soils or pumice-heavy mixes often cause stems to float during setup. Heavier gravel and mixed-weight blends hold delicate stems better and reduce replanting.
Rounded vs sharp grains: protection for bottom fish and barbels
Choose rounded grains where Corydoras or loaches live. Sharp-edged sands or crushed clay can irritate barbels and skin. A mix—finer foreground, coarser background—adds depth and helps water move through the bed, supporting beneficial bacteria and resilient roots.
- Test-plant a small patch: if tweezers slip, adjust grain size or weight.
- Avoid pea gravel for carpeting plants; it’s too coarse for fine roots.
- Match grain color to hardscape for a cohesive look without sacrificing function.
How Substrate Influences Water Chemistry
Substrate choices quietly steer water chemistry and set the stage for plant and fish health.
Active soils with peat lower KH and nudge pH slightly acidic. This profile helps many aquatic plants absorb nutrients from the water column and roots more efficiently.
Many commercial soils, like ADA Amazonia, can release ammonia early. Plan short, frequent water changes and test levels before adding livestock to the tank.
Carbonate-rich media—aragonite or Onyx-style sands—increase GH, KH, and pH by roughly 0.1–0.5. That shift suits species that use bicarbonates but can clash with acid-loving fish in low-CO2 setups.
Inert quartz sands and gravels stay neutral. They keep water stable and let you tune CO2 and dosing in the water column without substrate interference.
- Match chemistry to your source water and target livestock rather than chasing extremes.
- Avoid mixing active soils with carbonate caps; opposing effects can complicate care.
- Record baseline tap readings and monitor changes in the first weeks; soils settle and nutrient management becomes the focus.
Building Layers: From Base Nutrients to Aesthetic Caps
Layering materials correctly turns a simple tank bottom into a living, functional landscape. Choose between a complete soil used alone for deep rooting or a thin nutrient base capped with decorative sand or aquarium gravel for a cleaner look.
Complete soils vs base-layer additives
Complete soils can be filled 5–7+ cm deep when you want sculpting and long-term nutrients. They let roots dive and reduce early dosing needs.
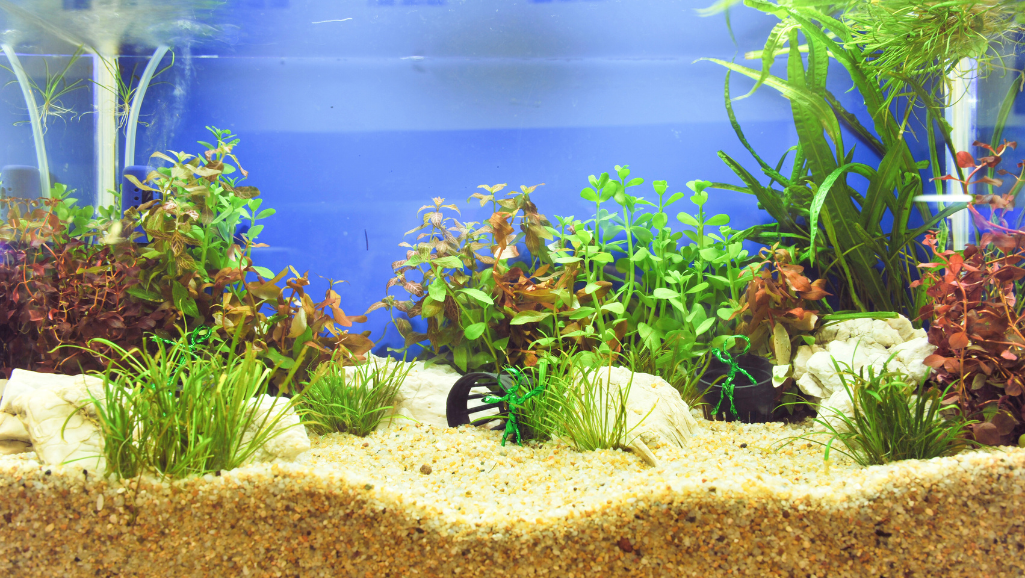
Base-layer additives (Tropica Plant Substrate, JBL AquaBasis plus, Dennerle DeponitMix) work well at 1–4 cm. Top with 2–4 cm of lime-free sand or gravel (1–4 mm) to protect the bed.
Caps, slopes, and paths
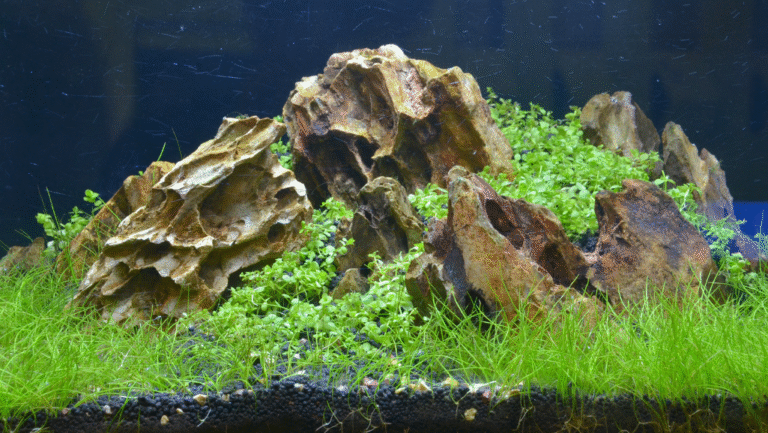
Use darker soil under planting zones and lighter sand paths for contrast without starving roots. Retaining stones, mesh, or mild aquarium-safe adhesives keep decorative sand separated and stable.
Quick volume math
Formula: length × width × depth (cm) ÷ 1000 = liters. Example for a 60P (60×30 cm): 1 cm soil = 1.8 L; 5 cm gravel = 9 L. Always order 10–20% extra to allow for shaping and compaction.
- Two winning strategies: full soil for simplicity or nutrient base + cap for control.
- Practical thicknesses: 1–2 cm base under 3–4 cm cap, or 5–7+ cm full soil.
- Tip: use lime-free caps in 1–4 mm size to keep water chemistry steady.
Planted Aquarium Substrate Setup and Cycling Best Practices
A smart startup plan reduces ammonia spikes and speeds healthy root establishment. Start with a timeline and simple rules so the first weeks build long-term stability.
Managing ammonia-rich aquasoils: many enriched soils (for example, ADA Amazonia) release ammonia early. Pre-cycle the soils and filter for 1–2 weeks when possible. Aim for a 2–3 week window before adding fish to the aquarium.
Quick startup timeline
- Day 0: plant densely—stems, floaters, and rosettes to absorb excess nutrients.
- Weeks 1–2: perform large, frequent water changes with ammonia-prone soils and test water daily.
- Week 2–3: wait for undetectable ammonia and nitrite before stocking tanks.
Planting technique by grain and weight
Use angled tweezers and insert stems deeper in light soils so roots lock in. Heavier media hold stems naturally; very light mixes need extra depth and staggered spacing to prevent floating.
Minimize digging for the first weeks. Gentle surface skimming and fine mechanical filtration clear dust and biofilm without disturbing the bed.
“Early patience yields long-term stability as roots and bacteria mature together.”
Tip: If using root tabs early, place them sparingly and deep to avoid spikes in the water column while roots settle.
Feeding Roots vs Dosing the Water Column
Feed plants where they take it: roots or the water column each demand a different strategy. Tablets, capsules, and sticks deliver concentrated food to the root zone. Liquid dosing feeds the column for fast-growing stems and epiphytes.
Root tabs, sticks, and capsules for nutrient-hungry species
Root tabs and capsules target root feeders like Echinodorus and Cryptocoryne. Place tabs near crowns and push them deep to limit nutrient leakage into the water column. Tropica Capsules and similar NPK formulas refresh aging beds and are often replaced every ~6 months.
Balancing substrate nutrition with liquid fertilizers over time
Balance is key. Even rich soils (ADA Amazonia, Tropica Soil) benefit from weekly liquid dosing to support stem plants and mosses. Use compact capsules for nano setups and larger sticks for deep, densely planted zones.
- Prioritize root feeding for heavy feeders; place tabs 2–3 inches apart in demand zones.
- Refresh tabs roughly every six months and adjust liquid dosing weekly by observing leaf color and new growth.
- Start light in fresh, “hot” soils to avoid nutrient spikes; increase only as plants show uptake.
- Clay-based and organic soils deplete over time—root supplements extend their service life without a full rescape.
“Synchronized root and column nutrition drives lush, balanced growth across diverse plant groups.”
Real-World Pros and Cons of Popular Substrates
Choosing the right bed material shapes how your plants, fish, and maintenance routine perform over time. Below is a concise look at three common paths and what to expect.
Inert options: control and clarity
Pros: Stable chemistry, easy vacuuming, attractive colors, and good porosity for bacteria.
Cons: Provide almost no plant-available nutrients. You must feed via the water column and add root tabs for heavy root feeders.
Aquasoils: faster growth, softer water
Pros: Brands like ADA Amazonia and Fluval Stratum jump-start rooting and color. They gently soften water and speed plant growth.
Cons: They can release ammonia early and lose nutrients over months to years. Plan for initial water changes and periodic replenishment with root tabs or new soil.
DIY soil systems: low cost, variable results
Pros: Big savings and flexibility in mix and cap choices.
Cons: Quality varies. Avoid heavy clay or compost-rich mixes and use a firm sand or gravel cap to cut mess and clouding when you dig or replant.
- Pick rounded sand or gravel for community tanks to protect sensitive fish.
- Control light and nutrient levels to limit algae on any media.
- Balance budget, look, chemistry, and maintenance to match your vision.
Planted Aquarium Substrate: Selection Checklist for the U.S. Hobbyist
Use this concise checklist to match your plants, fish, and tap water to the right bed for long-term success. Start with clear goals and a short list of must-haves before you buy.
Match to plants, fish, water, and style
Start with the plant list. Heavy root feeders need nutrient-rich soil or regular root tabs. Stems and epiphytes do well over inert caps if the water column is dosed correctly.
Check fish needs and barbel safety. Choose 1–4 mm rounded grains to protect sensitive bottom dwellers and ease maintenance.
Budget, availability, and long-term care
Know local supply and cost. Many brands are stocked across U.S. stores, but prices vary by liters and grain size. Order 10–20% extra for shaping and compaction.
- Match water chemistry: peat-rich soils lower pH/KH; carbonate sands raise GH/KH slightly (Onyx Sand example).
- Eco-Complete and similar mixes arrive nutrient-packed but still benefit from periodic fertilization.
- Decorative sands look clean but show detritus and algae—plan gentle surface cleaning without digging into planted zones.
Quick pre-buy checklist: plants, fish, tap water tests, style, budget, grain size, chemistry, and time you can commit. That small step prevents costly rescapes and keeps your environment stable for years.
Conclusion
Your choice of bed material sets the stage for years of healthy plant growth. Pick a planted aquarium substrate that matches your water, livestock, and long-term goals rather than chasing extremes.
Aquasoils give strong early rooting and reduce early water column dosing, but nutrients fade and need topping up. Inert options stay stable for years when combined with steady liquid dosing and root support.
Pay attention to grain size, texture, and safe edges—sand, gravel, or clay caps change handling and algae risk. Define your goals, do the simple volume math, and document results so each next tank is smoother and faster.
Act now: choose the right type, plant generously, observe, and refine—the bed you pick will help your scape thrive for years.
