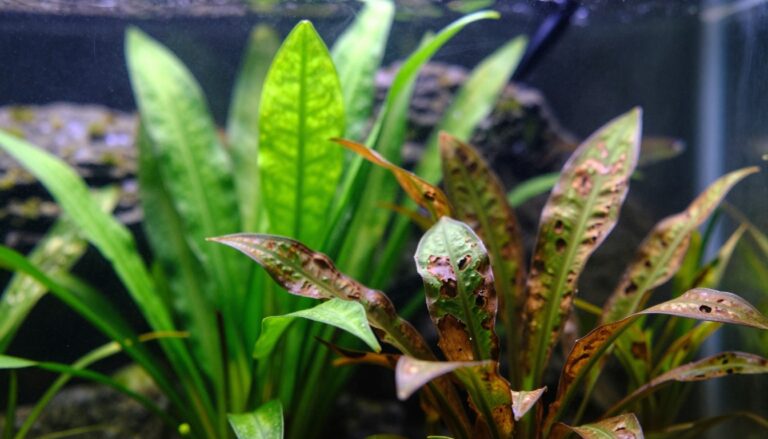
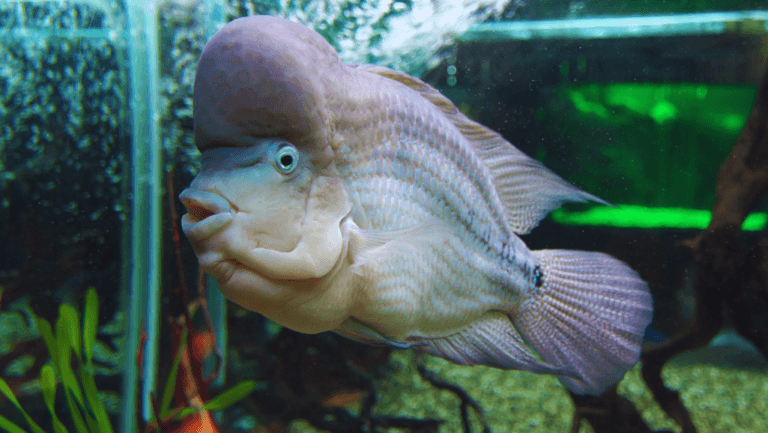
Healthy planted tanks start with balance. Aquatic plants need two basics: light and carbon. When those factors are out of sync, algae can take over and ruin the look and function of a planted aquarium.
Injecting carbon helps plants grow fuller and bushier. It lets plants outcompete algae for nutrients and gives hobbyists more predictable results than hoping plants “take off.”
This buyer’s guide will define what an aquarium co2 system is, compare real-world options, and explain essential parts. You’ll learn how to match a setup to tank size, goals, and budget.
The core promise: when light, carbon, and nutrients work together you get better plant growth, steadier nutrient uptake, and clearer algae control. This approach works for low-light community tanks and high-demand aquascapes if tuned responsibly.
Fish and shrimp safety stays front and center. We also cover price honestly—upfront cost versus refill value—so you can buy once and enjoy long-term stability.
Key Takeaways
- Aquarium CO2 Systems.
- CO2 supports stronger, bushier plant growth and reduces algae pressure.
- Learn system types, parts, and how to size a setup for your tank.
- Both low-light and high-light tanks can benefit when tuned correctly.
- Prioritize fish and shrimp safety while optimizing performance.
- Consider upfront cost and long-term refill value before buying.
Why CO2 Changes Everything in a Planted Aquarium
A measured boost of dissolved carbon changes how plants grow and how tanks behave.
Carbon fuels plant metabolism. When plants get steady co2, they photosynthesize faster and use nutrients more efficiently. That fuels denser stems, stronger roots, and richer coloration.
Stronger, fuller plant growth that outcompetes algae
Plants use more carbon than any other element they need. Give them access and they sprout thicker leaf mass and vigorous pearling. Better plant growth reduces free nutrients and starves algae.
Healthier tank balance when light, CO2, and nutrients align
Think of success as a triangle: light, carbon, and nutrients. Too much light without carbon, or carbon without nutrients, creates imbalance and invites algae.
- Stable co2 beats high bubble rates for predictable results.
- Consistent carbon dosing improves nutrient uptake and lowers waste.
- Healthier plants make the entire aquarium cleaner and more stable.
Focus on stability, not extremes. Small, steady inputs keep plants thriving and tanks calm. That reliable rhythm is what turns a planted aquarium into a living, balanced display.
Who Should Buy a CO2 System (and Who Should Wait)
Deciding whether to add a pressurized carbon source depends on your goals, tank style, and willingness to monitor conditions.
Low-light tanks that want steady growth: Low light plus a gentle co2 injection often yields predictable, forgiving results. Plants grow slower but fuller, and carpets can establish without triggering algae when tuned carefully.
High-demand aquascapes chasing carpets and vivid coloration
High light, dense planting, and aggressive trimming push plants fast. Those setups become carbon-limited quickly unless a reliable co2 tank and regulation are in place.
Signs your aquarium is carbon-limited
Watch for stalled new growth, pale leaf tips, unexplained algae despite fertilizers, or plants that never fill in. These are practical clues that co2 levels need attention.
Who should wait: New or unstable tanks, or hobbyists unable to check parameters regularly, should stabilize lighting, filtration, and nutrients first. When the symptoms match, added carbon is often the missing lever that unlocks the aquascape you pictured.
Aquarium CO2 Systems: Types Compared for Real-World Use
Choosing the right delivery path affects reliability, cost, and daily maintenance.
Pressurized cylinder systems
Best for stability and long-term growth. A pressurized set gives steady output and scales with larger planted tanks. It suits hobbyists who want consistent results and fewer interruptions.
Disposable cartridge setups for small tanks
Compact and low up-front cost. Disposable co2 cartridge kits work well for nano tanks and temporary projects. Be honest: ongoing cartridge cost and limited run time make this a short-term choice for many.
Single-cylinder, multi-tank setups using manifolds
Smart for multiple displays or fish rooms. One co2 cylinder feeding several aquariums via a manifold reduces refill frequency and saves money over time. It needs careful pressure balancing and tubing routing.
“Pick the option that matches your cabinet space, refill access, and how ‘set-and-forget’ you want the experience to be.”
- Consider cabinet size and cylinder transport.
- Factor refill convenience and monthly running cost.
- Match the set-up to your planted goals to avoid upgrading twice.
The Core Parts of a CO2 System (What Each Component Does)
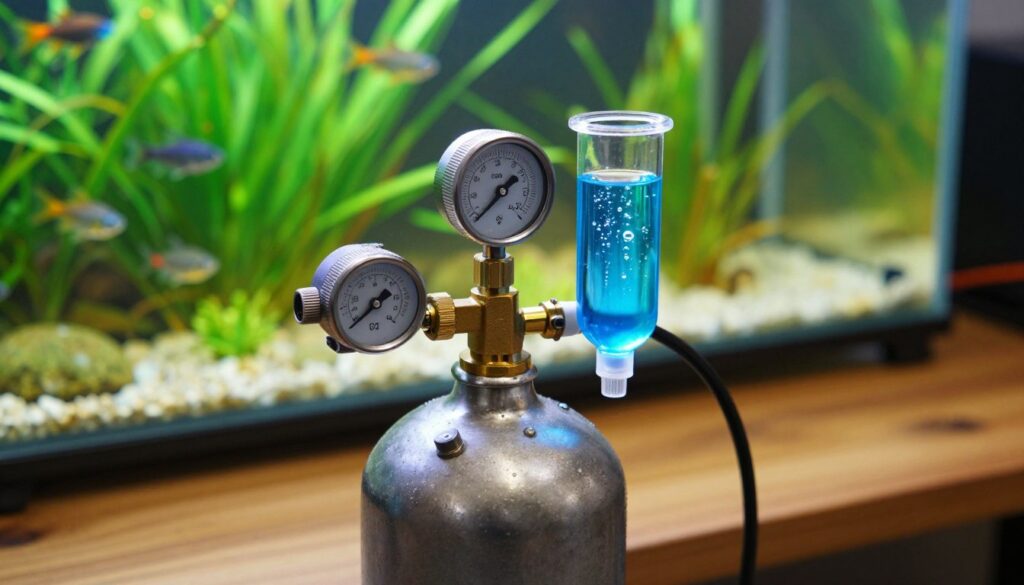
A clear grasp of every component lets you pick gear that lasts and runs without constant tinkering.
CO2 cylinder and common sizes
The cylinder sets how often you’ll refill. Small tanks use compact bottles for convenience. Larger displays benefit from 5 lb or bigger tanks to lower refill frequency and keep output steady.
Regulator basics and working pressure
The regulator controls output pressure so your diffuser gets a steady flow. Higher working pressure matters for fine-mist atomizers and some inline devices.
Dual stage vs single stage
Dual stage regulators hold a consistent output as tank pressure drops, which helps end-of-tank stability. Single stage units cost less but can drift near empty.
Solenoid and timed automation
A solenoid pairs with a timer to switch injection on and off. Automation saves mistakes and syncs carbon with the light cycle.
Needle valve and bubble counter
Use a needle valve for precise adjustment and a bubble counter for visual confirmation of flow. Bubble size can vary by device, but the counter gives a repeatable baseline.
Diffusers, inline options, and reactors
Pick an in-tank diffuser for simplicity, an inline CO2 diffuser for cleaner looks, or a reactor for high-efficiency dissolution. Each balances efficiency, aesthetics, and complexity.
Check valve, tubing, and monitoring
Install a check valve to prevent backflow and protect the regulator. Choose co2 resistant tubing to reduce leaks and hold fittings securely.
Tools like a drop checker act as training wheels while you learn timing and saturation. Together, these parts turn a confusing list into a reliable setup.
Choosing the Right CO2 Cylinder Size for Your Tank
Picking the right cylinder size makes your planted display simpler, steadier, and cheaper to run. Start by matching realistic runtime to your routine before you shop for a bottle.
For a typical 40-gallon tank, a 5 lb CO2 cylinder will last about 3–4 months at a sensible injection rate. That translates to roughly under $5 per month when you spread refill price over time.
Why go bigger? Larger bottles (20 lb+) cut the effective monthly price because refill labor and service fees stay similar while volume rises. Fewer refills mean fewer interruptions to plant growth and steadier levels week to week.
- Measure first: check cabinet height, cylinder diameter, and add room for the regulator.
- Transport: choose a size you can safely move; many U.S. shops will refill or exchange common bottle sizes.
- Ask questions: confirm local refill price and turn-around time to weigh convenience versus sticker price.
Long-term, pick the largest bottle that fits your space and you can carry. That small step makes CO2 feel effortless instead of a constant chore.
Regulator Buying Guide: Pressure Control, Gauges, and Reliability
Understanding how a regulator reads and delivers pressure is one of the fastest ways to stop guessing and start growing reliably.
Reading the two gauges: cylinder vs output
Most regulators have two gauges. One shows the cylinder’s internal pressure and the other shows the working or output pressure delivered to your tubing.
The cylinder gauge uses high PSI markings and tells you how much gas remains. The output gauge reads much lower and shows the set delivery pressure you will actually use.
Matching working pressure to your diffuser atomizer
Different diffuser atomizer designs need different working pressures. Ultra-fine membranes and some inline atomizers demand higher pressure to make a steady mist.
Check the device specs and set the regulator so the output pressure matches that range. Too little pressure = uneven bubbles. Too much can waste gas and stress fittings.
When to prioritize a dual stage regulator
Dual stage regulators keep output steady as cylinder pressure falls. That stability matters when you want fewer daily tweaks and consistent plant performance.
If you run a high-demand setup, or you dislike end-of-bottle drift, prioritize a dual stage unit. It’s often the best budget trade-off for long-term confidence.
- Learn to read gauges to spot normal vs abnormal pressure behavior.
- Match working pressure to your diffuser atomizer for a steady mist.
- Pay more for a reliable regulator to reduce micro-adjustments and sudden swings.
Diffusers, Atomizers, and Reactors: Getting CO2 into the Water Efficiently
The method you use to dissolve gas into water often determines real-world gains. Choose the delivery device with both result and look in mind. Small changes at the point of diffusion alter plant uptake, algae pressure, and visual clutter.
In-tank diffuser vs inline atomizer for cleaner aesthetics
In-tank diffusers are simple to set and tune. They sit inside the display and give predictable mist near their placement. That makes initial setup beginner-friendly.
Inline atomizers hide behind the filter outlet and keep the display minimal. When matched to flow and placement, an inline co2 device can dissolve gas more efficiently while staying out of view.
Efficiency vs complexity: why inline setups need more tuning
Inline equipment and a small reactor often demand higher working pressure and precise alignment with filter flow. Expect more tuning, but also better dissolution when done right.
Replacing worn parts to maintain fine mist
Ceramic discs clog with time and lose finesse. Replacing the head restores the fine mist that makes a diffuser atomizer effective.
“The last mile of diffusion decides plant response and color.”
For example, the replacement ceramic for the Atomic Stainless CO2 Diffuser is MSRP $12.99 and fits 25cm, 30cm, 35cm, and 40cm units. Swapping that disc is an inexpensive way to regain peak performance.
- Tip: Match mist size, placement, and circulation so plants across the tank benefit.
- Tradeoff: Better efficiency often equals more tuning and higher pressure needs.
- Maintain: Replace ceramic parts before performance drops.
Must-Have Accessories That Make CO2 Injection Safer and Easier
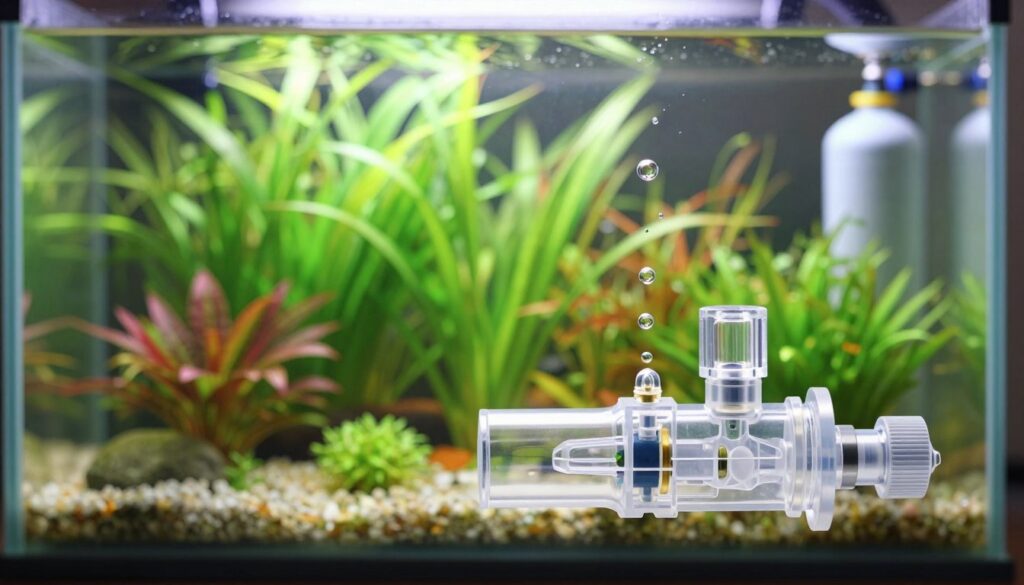
The right extras turn a complicated gas setup into something you can trust every night. Small parts cut risk, save time, and let you enjoy steady plant growth without constant checks.
Where to place a one-way valve
Install a check valve between the bubble counter and the diffuser so tank water cannot flow back toward the regulator or solenoid when the system shuts off. Place it with the arrow pointing toward the tank.
Bubble counter placement and consistency
Mount the bubble counter where you can read it easily—either on the regulator or inline near the cabinet wall. Keep its orientation steady and fill it to the same mark each time for consistent co2 bubble tracking.
Why upgrade to CO2 resistant tubing
CO2 resistant tubing is thicker and stiffer than air line tubing. It seals tighter at fittings and resists gas creep, which reduces leaks and extends service life.
- Small accessories matter: check valve, a clear bubble counter, and resistant tubing give big confidence.
- Use counters as a consistency tool: bubble size varies—don’t treat the counter as the final authority.
- Build a sleep-well setup: these upgrades lower maintenance, cut risk, and protect power and regulator gear overnight.
Budgeting for CO2: Price Ranges, Refill Costs, and Long-Term Value
Budget planning turns a great planted display from a hobby expense into a predictable monthly line item.
Real ownership costs split into two buckets: upfront gear and ongoing refills. A decent regulator and solenoid cost more, but they keep levels steady and reduce midnight tweaks.
For a 40-gallon tank, smart sizing can push refill costs to less than $5 per month. Choosing a larger co2 cylinder or co2 tank reduces refill frequency because labor and service fees dominate refill pricing.
Price often signals build quality. Pay extra for a solid regulator and a reliable bubble counter. Spend on leak-resistant tubing and a durable diffuser; skimp on cosmetic extras if needed.
- Upfront: good regulator, solenoid, and durable diffuser are worth the spend.
- Ongoing: larger cylinders lower monthly refill cost and save time.
- Balance: avoid “cheap now, expensive later” traps by valuing long-term reliability.
“A stable setup costs more at first but pays back in plant growth and fewer surprises.”
Recommended CO2 Setups by Aquarium Size and Planting Style
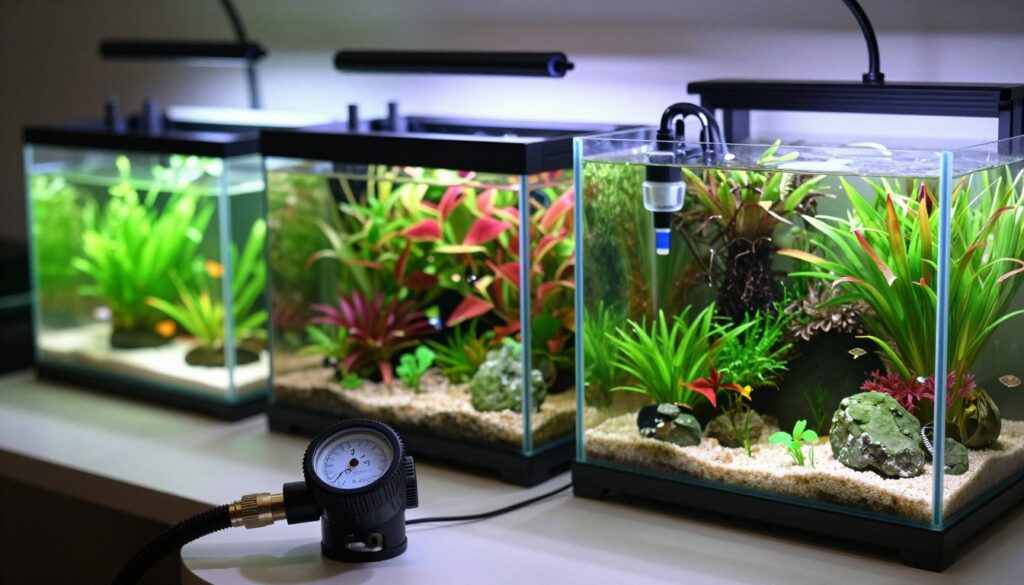
Choose the right setup by matching tank footprint, plant demand, and how much time you want to spend tuning.
Below are compact, ready-to-buy recommendations so you can skip analysis paralysis and order gear that fits your goals.
Nano planted aquarium: compact, simple CO2 injection
For tanks under 10 gallons, pick a compact diffuser and a small, low-pressure regulator kit. Aim for gentle co2 injection and an adjustable needle valve so tuning stays safe for fish and shrimp.
- Small diffuser + bubble counter
- Mini regulator or cartridge option
- Co2 resistant tubing and a check valve
Mid-size community tanks: balanced growth with stable CO2 levels
For 10–40 gallon aquariums, choose a reliable co2 system with a solenoid and timer. This supports steady growth while keeping fish comfort front and center.
- Medium regulator with bubble counter
- Inline atomizer or quality ceramic diffuser
- Drop checker for learning and consistency
Larger aquariums: leveraging cylinder size for better cost efficiency
For >40 gallon displays, prioritize a larger co2 cylinder and a dual-stage regulator to reduce refill frequency and stabilize output. Higher light and dense planting demand stronger dissolution—consider a reactor or inline atomizer.
- Co2 cylinder sized to your cabinet for lower long-term price
- Dual-stage regulator, solenoid, and quality diffuser/reactor
- Plan for service access and future scale
“Pick a setup that gets you the look you want in six months, not just what fits today’s budget.”
How to Set Up a CO2 System Correctly the First Time
Start your installation with a calm, checklist-driven approach so every joint and valve is correct from day one.
Attach the regulator the right way
Use the working O-ring on the regulator seat. The O-ring creates the seal between the regulator and the co2 cylinder. Do not wrap plumber’s tape on that threaded joint—tape can prevent the O-ring from seating and cause a leak.
Safe first-open and solenoid behavior
Open the cylinder valve slowly. The cylinder pressure gauge should jump when the bottle is opened. If you have a solenoid, remember: it blocks gas when unpowered. Only when the solenoid has power will gas reach the rest of the line.
Route tubing for tidy service and clear flow
Run tubing from the regulator to the bubble counter first, then onward to the diffuser or inline device. Keep tubing neat along cabinet walls so service and swaps are easy. Add a check valve between counter and diffuser to protect the regulator from backflow.
Confirm bubble flow and pressure
With the solenoid powered and the needle valve opened slightly, watch the bubble counter for steady, regular bubbles. Normal looks like consistent bubble size and rhythm. If bubbles are erratic, recheck the regulator and tubing path.
Leak test every joint
Soapy water is your best early-warning test. Spray or brush it on every connection: regulator threads, tubing fittings, the bubble counter, and diffuser joints. Large bubbles mean a leak—tighten or reseat the O-ring and test again.
- Attach regulator with O-ring; no plumber’s tape.
- Open bottle slowly; watch cylinder gauge rise.
- Power solenoid to allow flow; confirm bubbles in counter.
- Route tubing regulator → bubble counter → diffuser; tidy runs.
- Leak test all joints with soapy water; fix any large bubbles.
When done carefully, the payoff is huge: a confident first setup gives months of stable growth and far fewer late-night fixes. For a deeper walkthrough and gear picks, see our complete CO2 setup guide.
Dialing In CO2 Levels Without Guesswork
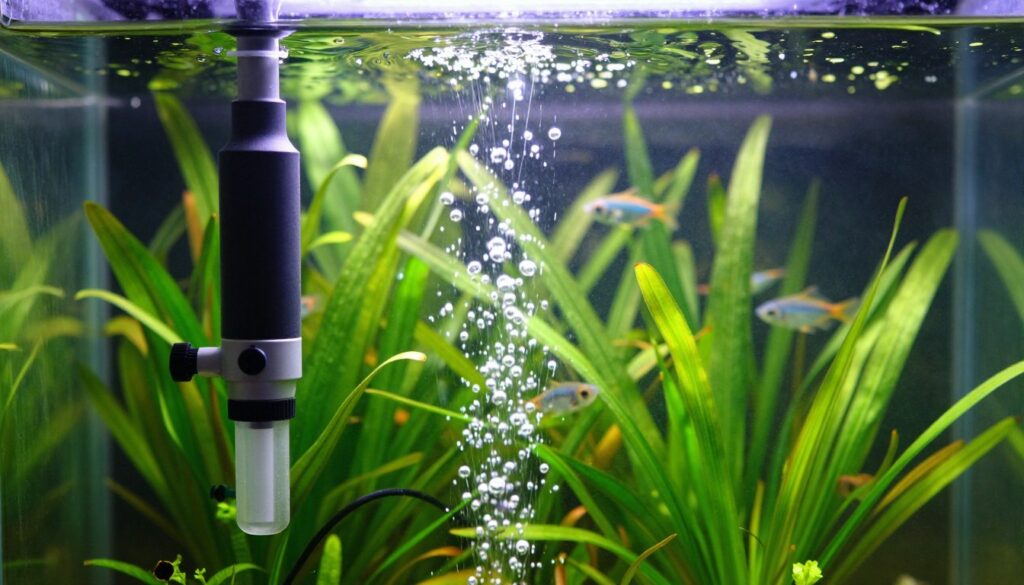
Dialing gas delivery into a planted display is less guesswork and more gradual tuning when you use simple, measurable checks.
Target range and what “good” looks like
A practical target is 25–35 ppm. That range fuels stronger growth without pushing gas into unsafe territory for most fish and shrimp.
Using the pH-drop method
Measure baseline pH, then run injection until the pH shows roughly a one-point drop at peak saturation. That single-point drop is a reliable benchmark for many planted setups.
Starter bubble guidance and safe adjustment
- Starter rule: about 1 bubble per second per 20 gallons (≈1 bubble/sec per 50 L).
- Use a bubble counter for a repeatable baseline; bubble size varies, so confirm with tests.
- Adjust slowly—small moves only—so livestock stay comfortable.
Expect lag time
Changes can take hours to fully register. Patience is a tool: wait before making more adjustments so you don’t overshoot.
Tools to learn faster: a drop checker and a clear bubble counter help you build confidence and turn measurements into steady, repeatable tuning.
Timing CO2 Injection with Your Lights for Peak Plant Growth
Start each lighting cycle with dissolved carbon already available so plants hit peak photosynthesis right away.
Begin CO2 injection about 2–3 hours before lights come on. Saturation takes time and plants burn most carbon in the first light hours. Giving the water a head start feeds growth during peak demand.
Starting CO2 2–3 hours before lights come on
Use an automatic timer and solenoid to switch gas on early. That automation ensures consistent pre-light saturation and removes daily guesswork.
When to shut off CO2 before lights-out
Turn injection off about one hour before the lights go out. This reduces overnight oxygen stress for fish and lets surface exchange recover after the final photosynthetic drop.
Aligning photoperiod length with stability and algae control
Many tanks run lights and CO2 for roughly eight hours daily. Beginners worried about algae can start at six hours and grow to 10+ hours as the tank matures.
“When CO2 and light align, your planted display becomes predictable and grows with intention.”
- Sync timers so gas leads the lights by 2–3 hours.
- Stop injection one hour before lights-off for safety.
- Use shorter photoperiods during the learning phase to limit algae pressure.
Fish and Shrimp Safety: Preventing Too Much CO2
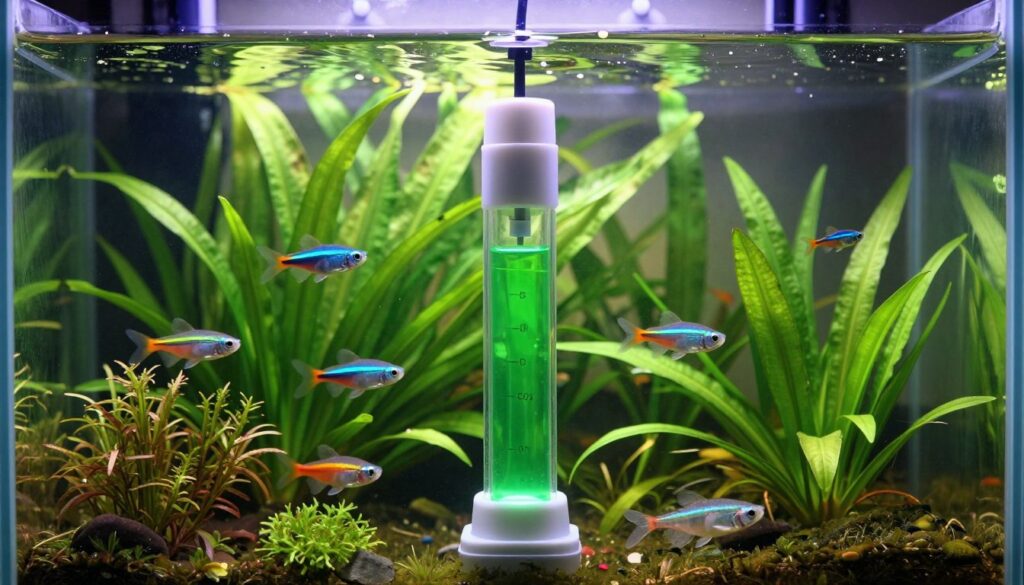
Keeping fish and shrimp safe starts with simple engineering: good surface exchange and steady circulation. These two factors cut the risk of low oxygen pockets and make the whole tank more forgiving when levels need fine-tuning.
Surface exchange and circulation as your best protection
Open, moving water is your first line of defense. Keep the water surface clear of film and direct filter outflow to encourage gas swap. Strong, well-placed circulation prevents CO2 layering and helps oxygen reach all corners.
Use a return or wavemaker to create gentle flow across the surface. Aim for full turnover that reaches plant zones and hiding spots so animals never sit in stagnant water.
Stocking tips: when to add animals in a CO2-injected tank
Add fish and shrimp when the injection is off or after a fresh water change. That gives livestock time to acclimate as CO2 rises with the next cycle.
What too much gas looks like: rapid gasping at the surface, listless behavior, or group clustering near high-oxygen areas. Prevention beats reaction—fix flow and surface exchange first, then reduce dosing.
- Practical checks: use a drop checker during the first weeks to learn normal ranges.
- Shrimp note: many shrimp thrive with modest injection; they tolerate higher dissolved gas when the system is stable.
- Confidence tip: steady circulation and clear surface exchange let plants and animals thrive together.
“A safe CO2 setup isn’t about fear—it’s about building a stable system where plants and animals thrive together.”
Maintenance and Troubleshooting for Long-Term Stability
Long-term stability comes from a short checklist repeated monthly and at each refill. Small, steady habits stop most problems before they start and keep plants and animals safe.
Refill cadence: A typical co2 cylinder lasts a few months depending on injection rate and bottle size. Bigger bottles lower refill frequency and improve monthly price by spreading service costs over longer runs.
Common leak points: valves, tubing, and fittings
Check valve seats, regulator threads, and tubing ends first. Use soapy water on each joint to spot leaks early.
When bubbles drop: clogged diffusers and pressure mismatches
If bubbles slow or stop, inspect the diffuser for mineral buildup. Then verify working pressure and seals on the needle valve and fittings.
Keeping your setup clean, hidden, and cabinet-friendly
Use co2 resistant tubing to prevent slow leaks and stiffen runs. Route lines neatly, secure the bubble counter where it’s easy to read, and keep the bottle accessible for safe refills.
“Most issues are simple checks: seals, tubing, and the diffuser — not mystery failures.”
- Set realistic expectations: tune once, check monthly.
- Prioritize resistant tubing and tight valve seals.
- When in doubt, follow a step-by-step leak and pressure check before changing parts.
Conclusion
Choose gear that matches your goals: bold growth, clean looks, or the safest environment for fish and shrimp.
Match intention to parts: prioritize a dependable co2 regulator (dual stage for steady output), an efficient diffuser, and leak-resistant or resistant tubing to keep performance consistent.
Think beyond upfront price. Consider refill frequency, long-term price, and how much time you want to spend tuning and maintenance.
Precision wins: stable injection, timed solenoid control, and gradual adjustments produce the healthiest, most reliable planted results.
Next step: pick a setup sized to your tank, install carefully, test every joint for leaks, and dial in slowly. With patience, your aquascape will reward you daily.
FAQ
What does adding CO2 do for a planted tank?
Who should install a pressurized cylinder setup versus a disposable cartridge?
How do I pick the right cylinder size?
Why do regulators have two gauges, and which matters most?
When should I choose a dual-stage regulator?
Inline atomizer or in-tank diffuser — which is better visually and in efficiency?
How important is a solenoid and timer for my setup?
What is a needle valve and why do I need one?
How do I measure safe CO2 levels for fish and shrimp?
What is the pH-drop method and when is it useful?
How should I route tubing and place the bubble counter and check valve?
What tubing should I use to avoid damage and leaks?
How often should I expect to refill a cylinder?
What common maintenance keeps a system reliable?
Why does my diffuser stop producing fine bubbles even though gas flows?
How should I time CO2 with my lights?
Can too much CO2 harm fish or shrimp, and how do I prevent it?
Are bubble counters necessary or just cosmetic?
What safety checks should I perform when first assembling a pressurized setup?
How do costs compare between DIY cartridge options and full pressurized rigs?
What brands and real-world parts should I consider for reliability?