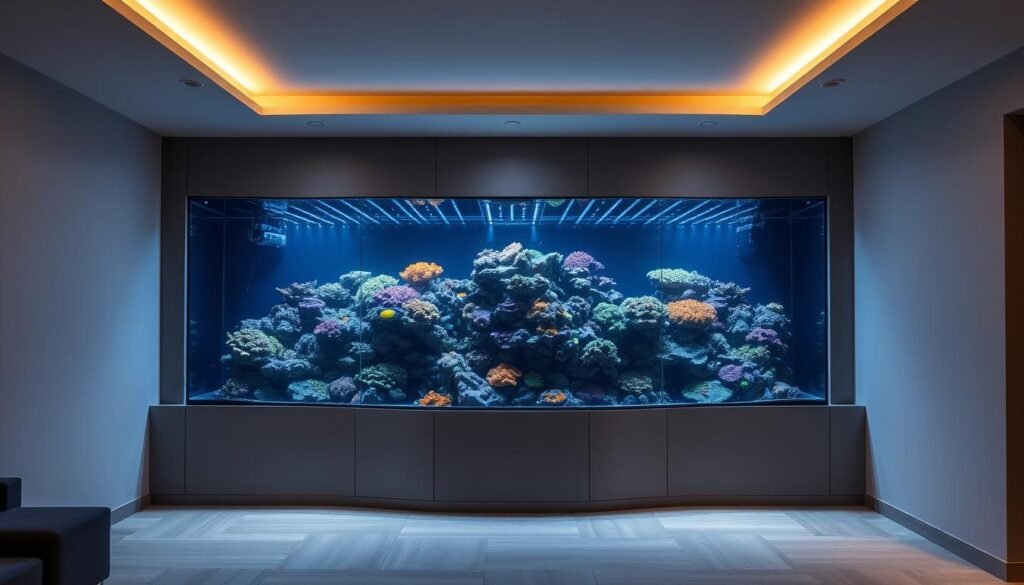
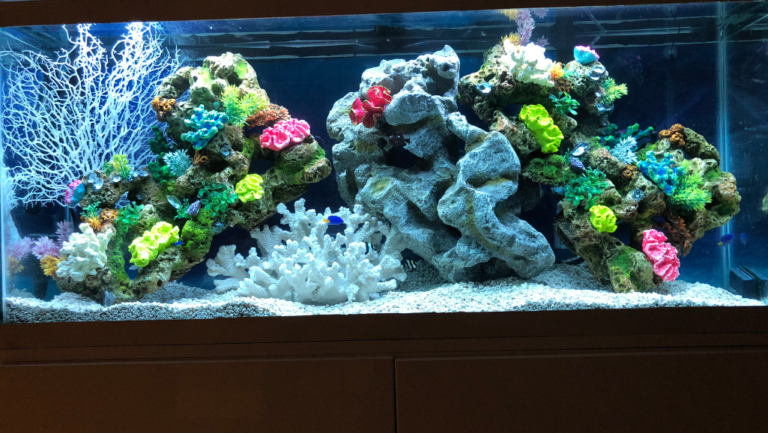
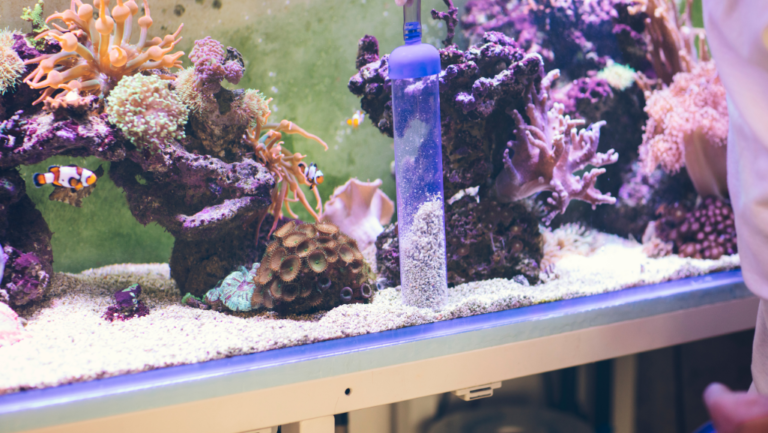
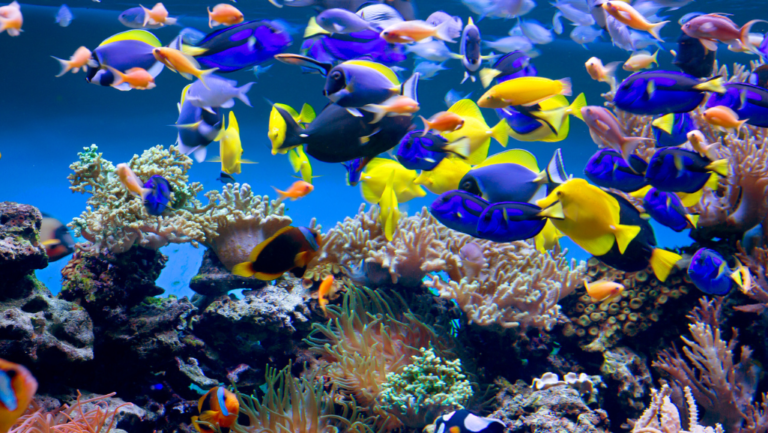
Bring a living reef into your room — a clear plan makes it achievable: steady water, the right livestock, and a display you enjoy every day. This guide helps hobbyists pick the best saltwater fish tank for their space and goals, from compact nano setups to larger integrated reef systems.
Choose a shape that fits your space. Peninsula layouts offer three-sided views and extra surface area for corals, while lagoon designs are wide and shallow for top-down, photo-friendly displays.
Think long term. A 120–180 gallon system is often the end-game size that reduces upgrade cycles; around 180 gallons you can comfortably keep most coral and livestock collections without constant reconfiguration.
We’ll translate pro-level criteria — glass clarity, overflow design, and filtration layout — into practical choices. Expect straightforward advice on all-in-one kits, premium integrated systems, and DIY-friendly options that match your room and budget.
Key Takeaways
- Best Saltwater Fish Tank — what “best” means for your needs and space: stability and maintainability.
- Set a clear goal — pick a tank to support your livestock and the display you want to see daily.
- Nanos (10–40 gallon range) — NUVO Fusion and similar units fit tight footprints and desks.
- Peninsula vs lagoon — choose peninsula for three-sided viewing, lagoon for top-down photography.
- 120–180 gallons — a smart long-term size that minimizes upgrades and improves stability.
- Quality overflow & filtration — pick designs that simplify maintenance and protect your investment.
Start Here: What “Best” Means for a Saltwater Aquarium in the United States
Begin by matching your space and routine to a tank you can maintain consistently. For many first-time owners in the U.S., a 40–75 gallon system is the practical sweet spot: large enough to buffer water chemistry swings and support a wider range of livestock, yet small enough to keep logistics manageable.
Quick planning tip — estimate full weight as: gallons × 8.6 lbs (approx.). Saltwater is heavier than freshwater, so confirm floor loading, access to a water source for mixing and top‑offs, and a suitable tank stand before you buy. When in doubt on upper floors, consult a structural pro and prefer systems under ~120 gallons for easier installation.
Shape affects the view and how you use the aquarium. Peninsula tanks give three‑sided viewing and more surface area for corals; lagoon (wide, shallow) tanks are excellent for top‑down photography and easy maintenance access.
- Personal fit matters: choose a tank size that matches your room, time, and maintenance rhythm.
- Stability scales with volume: 40–75 gallons is forgiving; 120+ gallons is a long‑term, upgrade‑reducing choice.
- Plan logistics: ensure space for a stand, mixing station, and room for gear and sump access.
If you live in an apartment or need a small footprint, skip ahead to the “Top Nano” section for compact, living‑space friendly options; otherwise, use this sizing guidance to pick the right way into the hobby.
How to Choose the Right Saltwater Tank: Size, Space, Glass, Overflow, and Filtration
A mid-volume tank gives you patience in a bottle: more water equals more stability. For new hobbyists, a 40–75 gallon system buffers chemistry swings and expands livestock options without making logistics overwhelming.
Dimensions that help coral and aquascaping
Practical targets: aim for at least 20″ tall and 20″+ front‑to‑back depth. Extra depth opens creative aquascaping possibilities and improves flow routing — both important for healthy coral growth.
Quick examples: the classic 24″ square 60‑gallon cube (good starter footprint) or a 120‑gallon display at ~48″ × 24″ if you want more room for rockwork and coral placement.
Display styles: peninsula or lagoon
Peninsula tanks maximize surface area and offer three‑sided viewing, which makes the reef feel like part of the room. Choose peninsula if display and multiple viewing angles are priorities.
Lagoons are wide and shallow — ideal for top‑down coral photography and easier access for maintenance. Pick lagoon if you value a broad, photo‑friendly view and simpler coral placement.
Overflow, sump, and plumbing choices
Decide on overflow type early — it affects filtration options, noise, and how clean the rim looks.
- Coast‑to‑coast weir: best for quiet, even surface skimming and compatibility with larger sumps and rollers.
- Low‑profile internal box: preserves clean sightlines for aquascaping but may limit filration layout options.
- Drilled glass + external sump: maximizes filtration flexibility and keeps the display rimless.
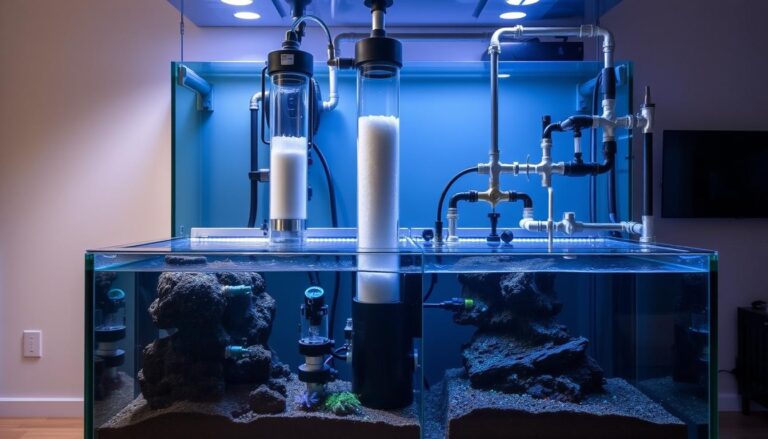
Sumps multiply filtration capacity, hide gear, and simplify dosing and automation. Modern systems pair well with auto rollers, refugia, and quiet DC return pumps — but check plumbing access, bulkhead sizes, and noise control before you commit.
Stand strength and glass quality
Always match the tank stand to the full loaded weight (tank + water + rock + equipment). Use a stand rated for the exact model, or build a reinforced cabinet that spreads weight evenly.
Demand low‑iron, ultra‑clear glass, rimless edges, and clean silicone seams so your display stays crisp. For larger tanks, thicker panels and proper edge finishing prevent bowing and extend long‑term durability.
“Choose dimensions that let coral grow up and out; it makes the display healthy and easier to maintain.”
Decision flow: pick your path in three steps
- Decide the target size based on space and skill (40–75 gal = forgiving; 120+ gal = long‑term platform).
- Choose shape by display needs (peninsula = three‑sided view; lagoon = wide, photo‑friendly).
- Select overflow/sump strategy by maintenance preference (coast‑to‑coast for quiet skim, drilled glass for maximum filtration flexibility).
Top Nano and AIO Picks for Small Spaces and Starter Reefs
Small-format tanks now deliver showroom looks with quiet, reliable gear. For apartments, offices, or desks, pick a model that fits your space and routine — compact aquariums can still create striking reef displays when the gear is right.
Innovative Marine NUVO Fusion (10–40 gallons)
Innovative Marine Nuvo Fusion — summary: flexible nano peninsula or cube designs in the 10–40 gallon range with rear chambers for neat plumbing. Key specs: multiple shapes, user-friendly rear filtration, durable low-iron glass. Best for: desks and small living-room displays. Pros: attractive footprint options and simplified maintenance; Cons: limited long-term stocking compared with larger systems.
Maxspect DICE 12 Gallon AIO
Maxspect DICE 12 — summary: budget-friendly 12‑gallon AIO with integrated lighting and compact sump chamber. Key specs: pairs with MJ-L130 (30W) or MJ-L165 (65W) fixtures for app control, quiet returns. Best for: beginners on a budget who want app-level control. Pros: low upfront cost and simple setup; Cons: limited space for heavier coral loads.
Red Sea Max Nano (26 gallons)
Red Sea Max Nano — summary: 26‑gallon integrated system with a furniture-grade stand for a polished home or office display. Key specs: matched sump and plumbing, integrated overflow and filtration, attractive stand. Best for: living rooms or shared spaces where presentation matters. Pros: cohesive package and easier compatibility; Cons: higher price than generic AIO options.
- How to pick: choose a tank by footprint and intended display — cube or peninsula for a focal point, narrow footprint for desks.
- Gear checklist: quiet DC returns, a reliable heater, and media baskets to protect water stability and coral color.
- Placement: keep bioload modest and avoid direct sun or heavy traffic for long-term success.
See where each fits in the use‑case section below to match these models to your room and goals.
Beginner-Friendly Kits and Bundles That Fast‑Track Success
A thoughtfully curated kit can turn a confusing checklist into a clear setup plan. For new hobbyists, packaged options bundle compatible components, simplify plumbing choices, and cut decision fatigue so you get to the rewarding part faster.
HelloReef’s 15 Gallon AIO Kit
- What’s included: low‑iron glass aquarium, filter sock, ceramic media, carbon, sponges, Sicce Micra Plus return pump, AI Blade Grow light, Sicce Nano wavemaker, 50W heater, refractometer + calibration fluid, Aquaforest salt, live sand & rock, and a six‑week online course with 50+ step‑by‑step videos.
- Ideal for: absolute beginners who want guided setup and learning support.
- What you may still need: a compatible stand, spare media, and test kits.
Innovative Marine 20 NUVO Fusion Peninsula Pro 2 bundle
- What’s included: NUVO Peninsula tank bundle with MightyJet controllable DC return pump, acrylic media caddy, 200‑micron sock, carbon/GFO, fiber balls, leveling mat, mesh screen, and APS pedestal.
- Ideal for: hobbyists who want a compact peninsula display with upgradeable flow control.
- What you may still need: lighting and a dedicated wavemaker sized to your coral choices.
Waterbox Marine X Peninsula
- What’s included: rimless low‑iron glass panels, central overflow, dual returns, and an included sump with basic plumbing for out‑of‑the‑box filtration.
- Ideal for: buyers who prioritize optical clarity and a gallery‑quality display with matched sump plumbing.
- What you may still need: skimmer upgrades, media choices, and a stand rated for the full load.
Buyer checklist — three red flags to avoid
- No matched sump or unclear plumbing plan — buyer should know what the filtration path looks like.
- Undersized heater or pump for the stated gallons — always confirm specs vs tank volume.
- Unclear warranty or missing customer support — kits should include service info or guarantees.
Confirm that the included stand or pedestal fits your room and gives comfortable access for weekly care. Quiet operation, tidy cable management, and a sump or filtration plan that fits your maintenance rhythm matter for a living‑room‑friendly system you’ll actually enjoy.
Compare these kits by footprint, included sump, and what you still must buy — a short comparison table (stand required, sump included, ideal room) will quickly show which product best matches your needs.
Premium Systems and Long‑Term Reef Platforms
High-end integrated systems merge lighting, flow, and filtration into a single, dependable experience. These premium platforms minimize parts-matching so you can focus on coral health, display quality, and long-term growth.
Reefer Max 200 G2+ — packed integration
What’s included: manufacturer-matched lighting, pumps, skimmer, ATO, and a factory sump designed to work together. Example features often listed are a ReefLED fixture, gyre-style circulation, DC return pumps, fleece roller options, and built-in automation.
What you may still need: verify heater capacity, test kits, and any additional circulation units for large coral loads.
Who should buy this: hobbyists who want a near‑turnkey reef system with matched components and less setup friction.
Max S Series — clean lines, serious sump
The Max S Series emphasizes hidden plumbing and a professional glass sump. Choose this product if you want a coast‑to‑coast overflow, integrated protein skimmer space, and a tidy stand interior where service items stay out of sight.
Tip: confirm exact sump volume and skimmer sizing for your target bioload before purchase.
Waterbox Marine X Peninsula — optical clarity
Waterbox Marine X Peninsula focuses on visual performance: rimless low‑iron glass for improved clarity, central overflow, and an included sump and plumbing that make setup straightforward.
What’s included / missing: the package commonly includes matched sump plumbing; you may still want to upgrade skimmer or add a refugium depending on nutrient targets.
“Premium systems reduce compatibility headaches and keep the display quiet and organized — which supports better coral color and growth.”
- Integrated gear: reduces guesswork and shortens commissioning time.
- Thoughtful overflow & sump design: controls surface skimming, nutrient export, and noise when sized correctly.
- Quality stands & hidden plumbing: keep the room viewable and maintenance straightforward; confirm stand load ratings for full tank weight.
Shopping tip: build a short comparison (footprint, included sump, what you still must buy) to pick the premium system that fits your display goals and long‑term budget.
Best Saltwater Fish Tank Picks by Use Case
Match the system to the room: small footprints can still deliver bold variety. Choose by purpose — photo-friendly displays, dual biotopes, or a quiet office focal point — and pick gear that supports that use.
Multiple biotopes in one footprint — Best for creative contrast
Innovative Marine 20 NUVO Concept Encore fits two isolated displays into a 24″ × 15″ footprint, letting you run distinct scapes side‑by‑side (different lighting or coral types) without two full tanks. This is ideal when you want visual contrast or to experiment with separate water parameters safely.
Expansion for offices and bedrooms — Best for small spaces
The Innovative Marine 14 NUVO Fusion Peninsula is compact enough for desks and dressers; the Red Sea Max Nano (26 gallons) brings a furniture‑grade stand for shared living areas. If you have ~30–100 ft² of space, these tanks offer strong display value without dominating the room.
Clean looks without a bulky overflow box — Best for minimalist displays
Low‑profile internal overflow designs, like Glasscages models, project only about 1.6″ from the wall and stay under 6″ tall, preserving sightlines so your aquascape and coral take center stage. Choose these when the front view and minimal distraction are priorities.
Skip the daily sock swap — Best for low-maintenance owners
Red Sea Reefer G2 sumps accept auto filter rollers and larger mechanical filters that dramatically reduce manual sock changes. Pros: far less frequent maintenance and clearer water; Cons: rollers add upfront cost and need occasional replacement media.
- Two-display layout for creative variety without extra footprint.
- Compact options that elevate office and bedroom space without overpowering the room.
- Low-profile overflow preserves a clean front view and depth perception.
- Auto rollers reduce routine chores but increase initial investment.
“Pick the system that fits your life—then the hobby stays joyful every day.”
DIY‑Friendly, Stands, and Customization: Build the System Your Way
Customize your setup so it reflects how you want to live with a reef, not just what fits on a shelf. A DIY route gives you component-level control, lets you plan service access from day one, and—when done correctly—can outperform many off-the-shelf systems.
Glasscages and IM INT/EXT: reef‑ready drilling and US‑standard plumbing
Choose reef‑ready glass that accepts standard PVC bulkheads. Glasscages offers low‑profile internal overflows that extend roughly 1.6″ into the tank and stay under 6″ tall, preserving aquascaping sightlines while providing reliable surface skimming. Innovative Marine INT/EXT models are available drilled for US plumbing, making returns and drains simple to route.
Aquaforest Oceanguard: pre‑assembled, sturdy stands with removable panels
Aquaforest Oceanguard stands arrive pre‑assembled with removable cabinet panels for easy access. They’re built to spread tank weight and give furniture‑grade looks—choose a stand rated for the full filled weight of your tank and accessories.
Fiji Cube AIO and Drop‑In Kits: convert standard breeders with effective filtration
Fiji Cube drop‑in kits turn common 40‑gallon breeder tanks into functional AIOs with a compact pump and simple plumbing. This is a budget‑smart way to upgrade a basic glass tank into a reef‑ready display without major drilling or custom cabinetry.
Avoid upgrade fever: why the 120–180 gallon range satisfies long‑term goals
If space permits, stepping into the 120–180 gallon size often ends the upgrade cycle. These volumes give generous coral real estate, stronger flow options, and room for refugia and larger sumps while keeping weekly maintenance efficient.
DIY quick checklist & risk tips
- Bulkhead sizing: match bulkheads to pump flow and plumbing diameter to avoid bottlenecks.
- Leak test: run a dry plumbing pressure/soak test before filling the display.
- Plumbing slope & valves: plan drain runs with appropriate slope and install isolation valves for service.
- Emergency shutoff: have a return pump power kill‑switch or dedicated GFCI outlet accessible.
Step-by-step starter path
- Choose reef‑ready glass or a drilled tank (Step 1).
- Plan sump location, route plumbing, and confirm stand load ratings (Step 2).
- Select matched pumps, skimmer, and a quiet DC return; wire outlets and routing before final placement (Step 3).
Tools & wiring note: keep a basic tool kit (drill bits for bulkheads, silicone, pipe cement, hose clamps), a multimeter, and labelled power strips for neat cable management. For large stands or second‑floor installs, consult a structural or installation professional.
- Start with reef‑ready glass for flexible plumbing layouts.
- Low‑profile overflows preserve aquascaping and reduce visual clutter.
- Choose Oceanguard or a rated tank stand to combine strength and style.
- Fiji Cube kits are a practical, low-cost conversion option for 40‑gallon breeders.
- Plan cable and plumbing routes to keep the sump tidy and serviceable.
“DIY doesn’t mean compromise—done right, a custom build can be both beautiful and high performing.”
Conclusion
Pick gear that keeps maintenance simple so care becomes a habit, not a chore. Choose a tank and setup that fit your room, time, and budget: compact Nuvo Fusion‑style tanks for small spaces, or integrated Red Sea‑style systems for near‑turnkey reef ownership.
Aim for clear low‑iron glass, a tidy tank stand rated for the full loaded weight, and an overflow + sump strategy you can actually maintain. Beginner kits (HelloReef) and drop‑in options (Fiji Cube) speed setup and reduce guesswork so you spend more time enjoying the display and less time troubleshooting.
In short: pick the right size, match reliable filtration to your goals, prioritize quiet operation, and build a simple weekly routine — do that, and your reef will reward you with color, growth, and years of enjoyment. If you have your footprint and budget, use the three‑step decision flow in “How to Choose” to move from idea to purchase.
